Everyone knows that small stab of frustration when grout whitened yesterday has turned green again by morning. The shower is spotless before bed, but the next day those stubborn grey marks return, as though the bathroom remembers them. I was tired of scrubbing until my fingers wrinkled only for the result to last no time at all. Then, at a seaside hotel, a maid showed me one straightforward technique. My grout has not bloomed again since.
The mirror was clouded with steam, the window creaked, and the shower gleamed with almost aggressive cleanliness. There was a faint scent of lemon and warm stone in the air. I watched the maid, Dawn, move her microfibre cloth with the ease of a dancer. She noticed me examining the shower grout with some embarrassment. Smiling, she produced a translucent bottle and a roll of toilet paper. “Watch this, love.” There was nothing unusual about her approach. It was simply sensible. Within five minutes, she had dealt with the problem I could never keep under control at home. It was the smallest of tricks.
Why mould kept returning to the same grout patches
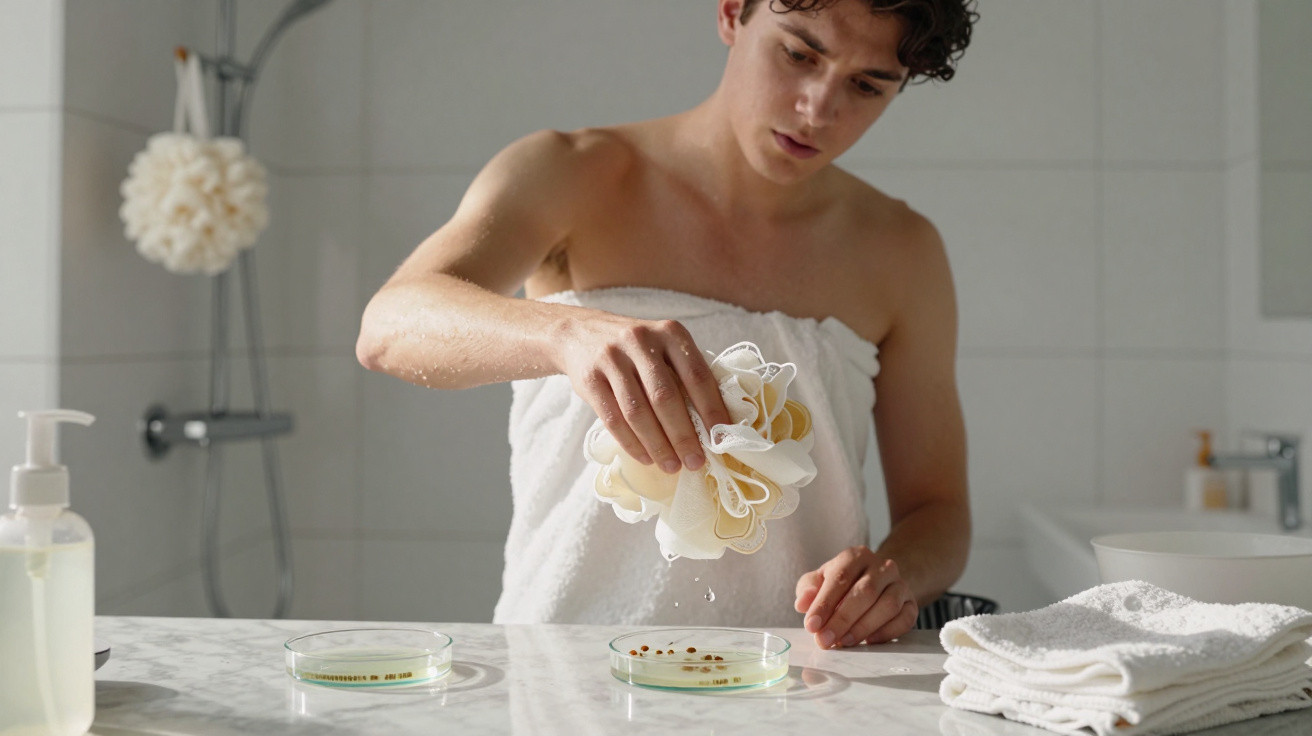
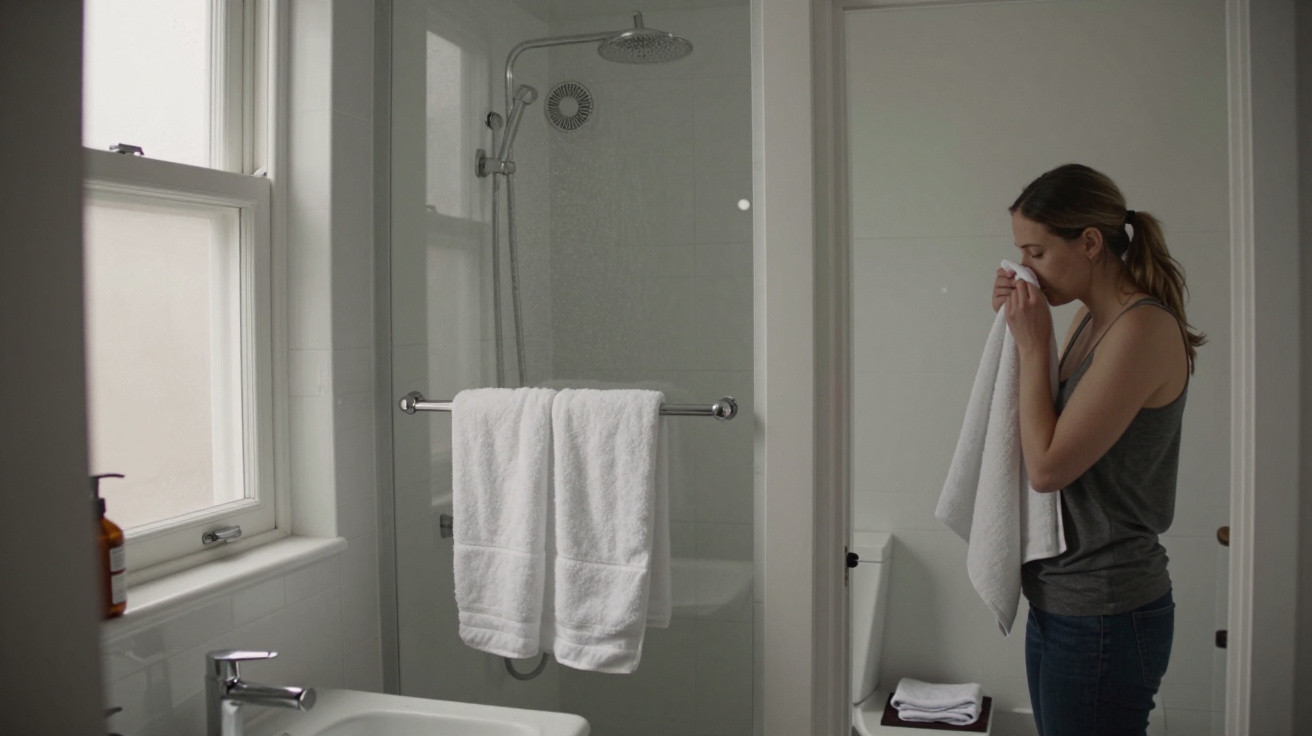
My shower appeared clean, but mould always managed to return to the grout. There would be two clear days, followed by pale grey speckles, then a greenish cast that photographs badly yet is impossible to ignore in person. The issue was not dirt; it was the conditions. Heat, residual damp and a trace of shampoo residue were nourishing a miniature ecosystem that I had never properly disrupted. I had been treating the visible symptom rather than the cause.
Once, out of sheer irritation, I timed the process. It took four minutes to scrub, rinse and complain. Forty minutes later, the mirror was misty again, the extractor fan was barely coping, and the door was closed because of the cat. That was the problem: rather than defeating mould, I was effectively settling it in with a towel and an excuse. Research describes bathrooms as microclimates, with porous grout absorbing water like a sponge. You do not need a scientific paper to recognise it by touch: cool tiles, damp corners and barely any circulating air. It is a perfect miniature habitat.
This became clear when I took a closer look: grout is porous cement. Water sits far below its visible surface, and mould flourishes at that depth. Soap scum creates a thin food source while holding spores in place. Bleaching only the surface may give a brief, snow-white finish, but it conceals the moisture trapped underneath. As long as the centre remains wet, the mould reappears. It may look as though the cleaning is inadequate, but the real problem is insufficient drying and no protection.
The hotel maid’s trick for stopping mouldy grout
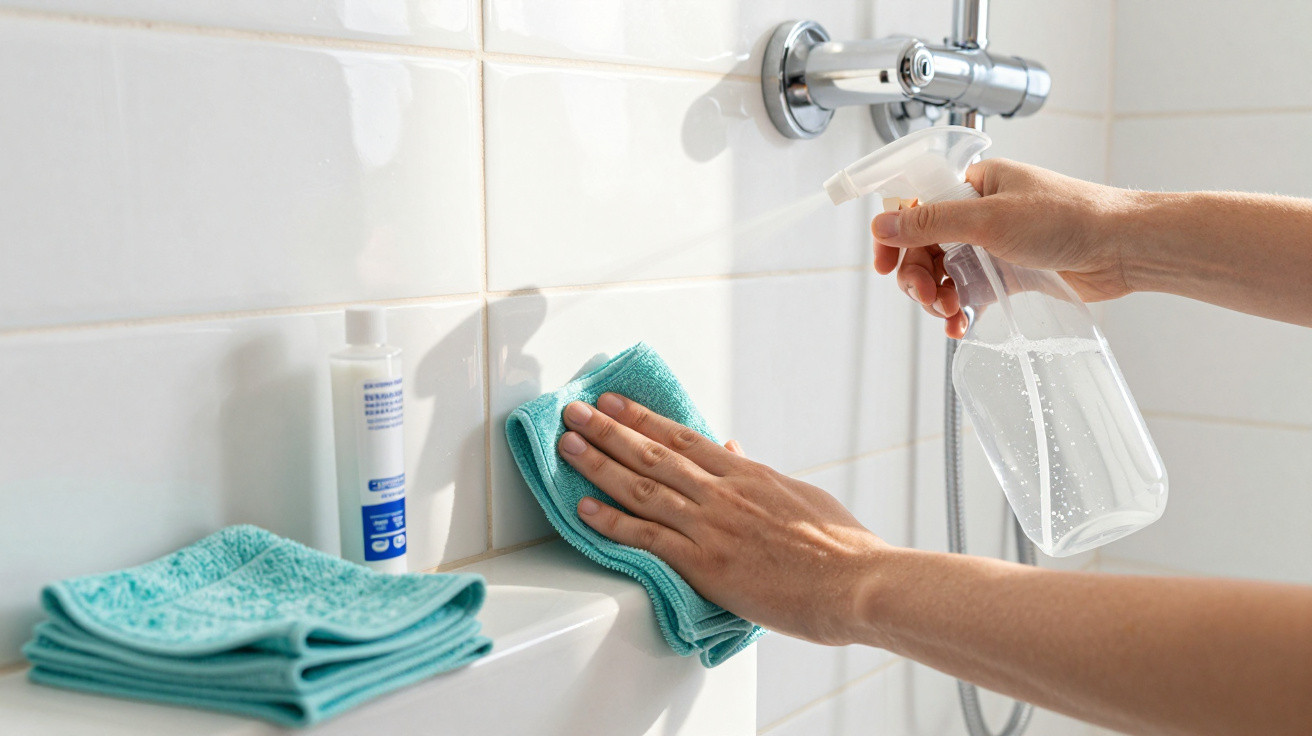
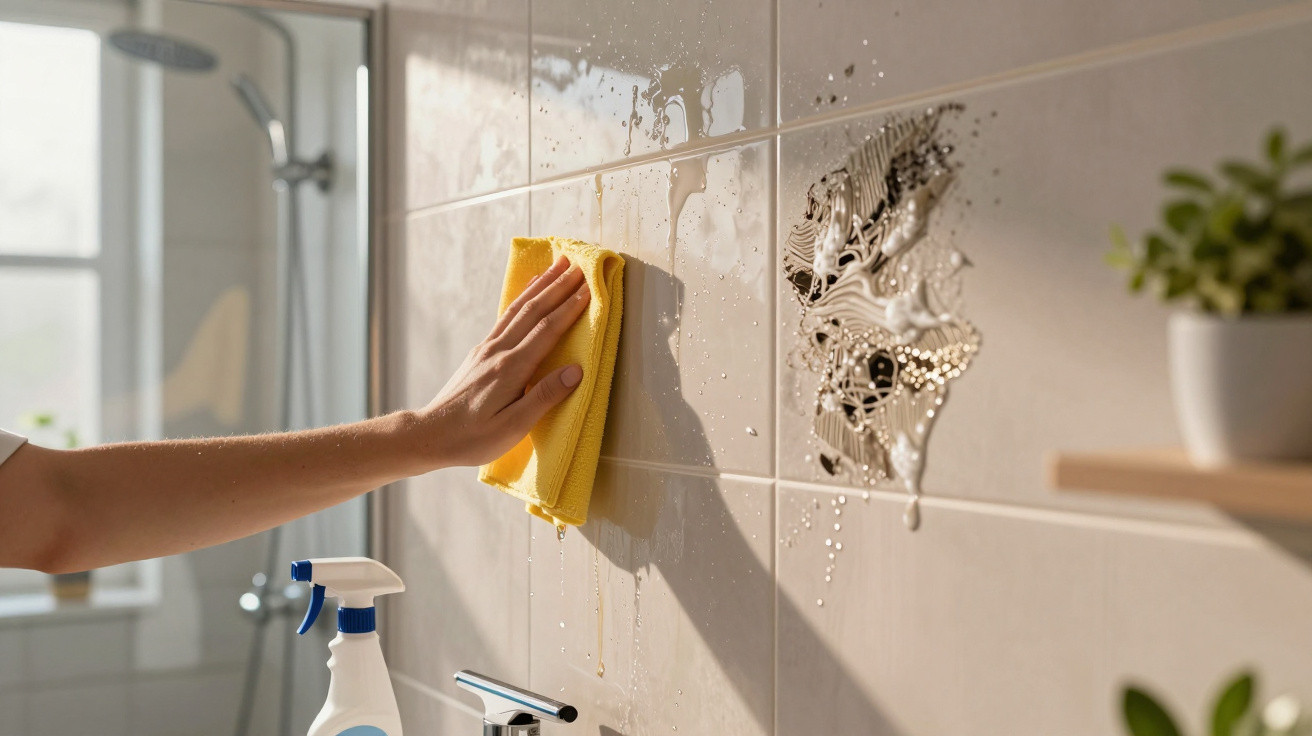
Dawn’s method had three stages. First, she dried the grout rather than the glass, quickly running a microfibre cloth over the vertical lines before switching on the extractor and leaving the door slightly open. Next, she sprayed 3% hydrogen peroxide directly over the grout and pressed narrow strips of loo roll along the lines. The paper adhered to the surface, drew moisture out and kept the peroxide in contact with the pores. After 30–60 minutes, she removed the paper, gently brushed the grout with a soft brush and rinsed it. Finally, once the grout was completely dry, she sealed it using either a water-based grout sealer applied with a tiny brush or, as a temporary solution, a light rub of a plain white candle over vertical lines. The mould did not return.
The technique works because it alters the environment rather than merely improving the colour. The combination of wicking and peroxide reaches places a quick spray cannot. Drying both before and afterwards removes the damp conditions mould needs. A basic sealer closes up those tiny sponge-like pores, preventing daily showers from soaking the grout’s core again. Let’s be honest: nobody actually does this every day. Instead, make it a weekly “reset”: on Sunday evening, use the paper-and-peroxide method for an hour while preparing dinner, then reseal monthly. Never combine vinegar and bleach, avoid all acids on natural stone, and do not wax a floor. If your grout is coloured, test the method on an inconspicuous area first.
I asked why she used paper, and she shrugged as if the answer were self-evident.
“Chemicals help, love, but time and contact do the job. Paper makes the liquid stay where the problem lives.”
She then pointed at the extractor fan. “Air is your friend.” I understood the message and put together a small kit to keep beneath the sink.
- 3% hydrogen peroxide in a fine-mist spray bottle
- A microfibre cloth and soft grout brush
- A roll of loo roll or cotton strips
- Water-based grout sealer and a small artist’s brush
- A white candle for quick touch-ups on vertical lines
Keeping a shower clean for longer
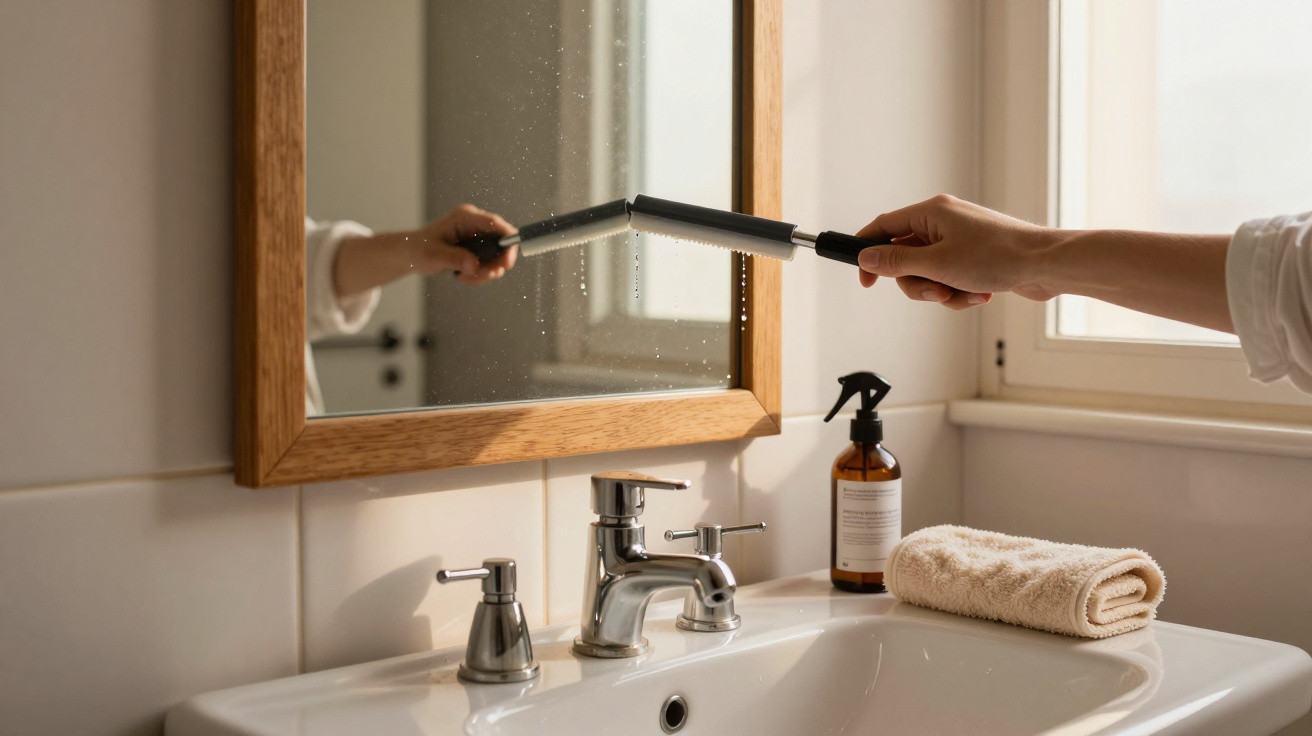
I waited six weeks before trusting the outcome. That first weekend felt like a honeymoon with my own bathroom: bright grout, no creeping shadows emerging from the corners, and a caulk line that looked less eerie. After every shower, I adopted a 60-second routine: use a squeegee, quickly wipe the grout lines, leave the door open and let the fan run for twenty minutes. Dry first, then disinfect, then protect. When it works, it is almost dull.
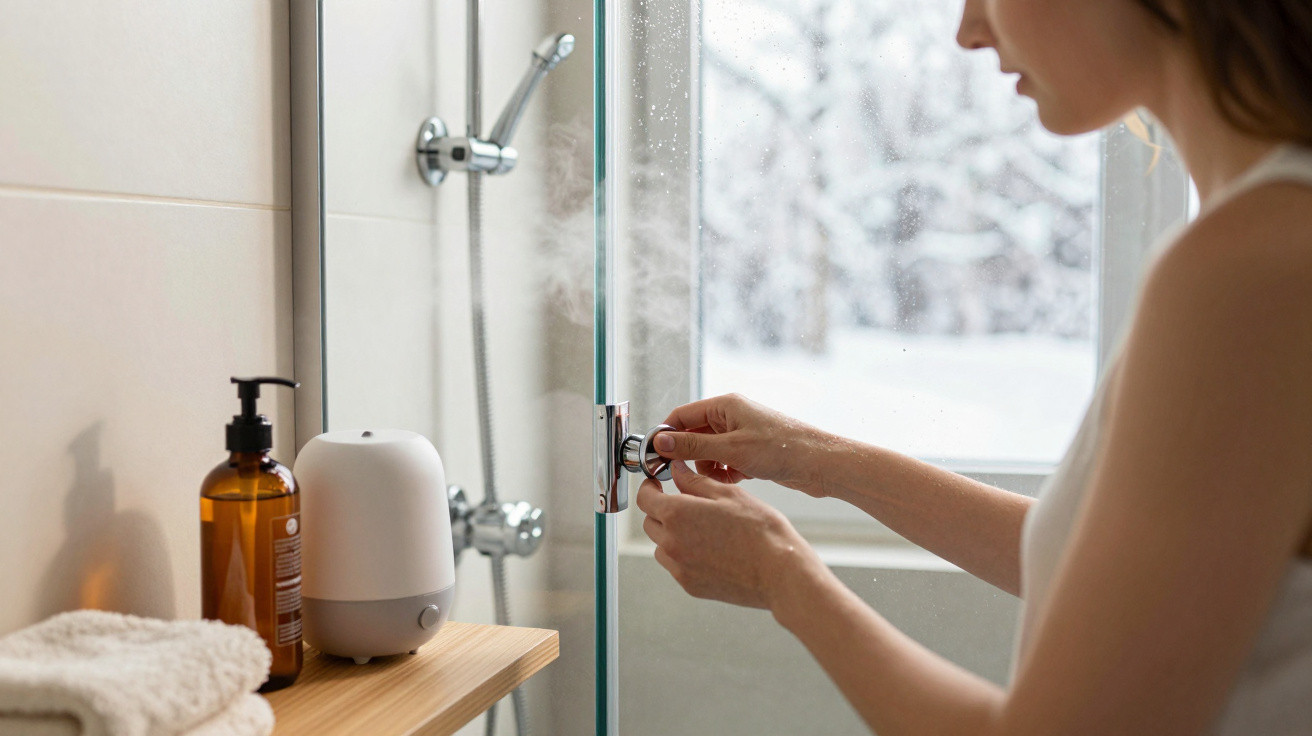
We have all experienced the moment a guest asks to use the bathroom and our attention immediately fixes on that one grimy patch in the corner. The maid’s trick will not make you perfect; it simply means you no longer dread looking down. If your extractor fan is weak, a plug-in desk fan placed on the floor and aimed upwards for half an hour can shift air far more effectively than you might expect. If sunlight ever reaches your shower, make use of it: light is a quiet adversary of mould in a way that no product label can market.
There were a few setbacks. On my first attempt, I used too much peroxide and was left with drips; less is better, and a fine mist works best. During one busy week, I missed the resealing step and noticed a faint ghostly ring reappear where water gathers near the tap, but a quick reset solved it. I also replaced bleach gel with peroxide when the bathroom door was shut to keep pets safe. Peroxide has a fresher smell and does not corrode metal trim. Dawn would probably laugh at hearing me repeat all this, but it is exactly the kind of unglamorous habit that quietly improves a home.
| Key point | Detail | Benefit for the reader |
|---|---|---|
| Dry–Wick–Seal method | Dry the grout, use 3% peroxide with paper strips, then seal once dry | Stops mould at its source and keeps the clean appearance for longer |
| Airflow matters | Run the fan for 20 minutes, leave the door ajar and occasionally boost airflow with a portable fan | Reduces the lingering damp that encourages regrowth |
| Quick weekly reset | Allow 60 minutes on a Sunday and top up the sealer monthly | Requires little effort, delivers strong results and is realistic to maintain |
There is something unexpectedly soothing about a shower that remains the same colour day after day. It suggests that the room is breathing and that small habits are quietly doing their job in the background. If your grout keeps welcoming mould back, move the focus from scrubbing to creating the right conditions: remove the moisture, allow the cleaner enough time to reach the pores, then give the surface a little protection. Dawn’s trick is not magic; it is a rhythm. It takes less time than scrolling on your phone. Once you see those lines stay bright, you will never overlook the difference again. Let’s be honest: nobody actually does this every day. But once a week is enough to change the story your bathroom tells you every morning.




Comments
No comments yet. Be the first to comment!
Leave a Comment