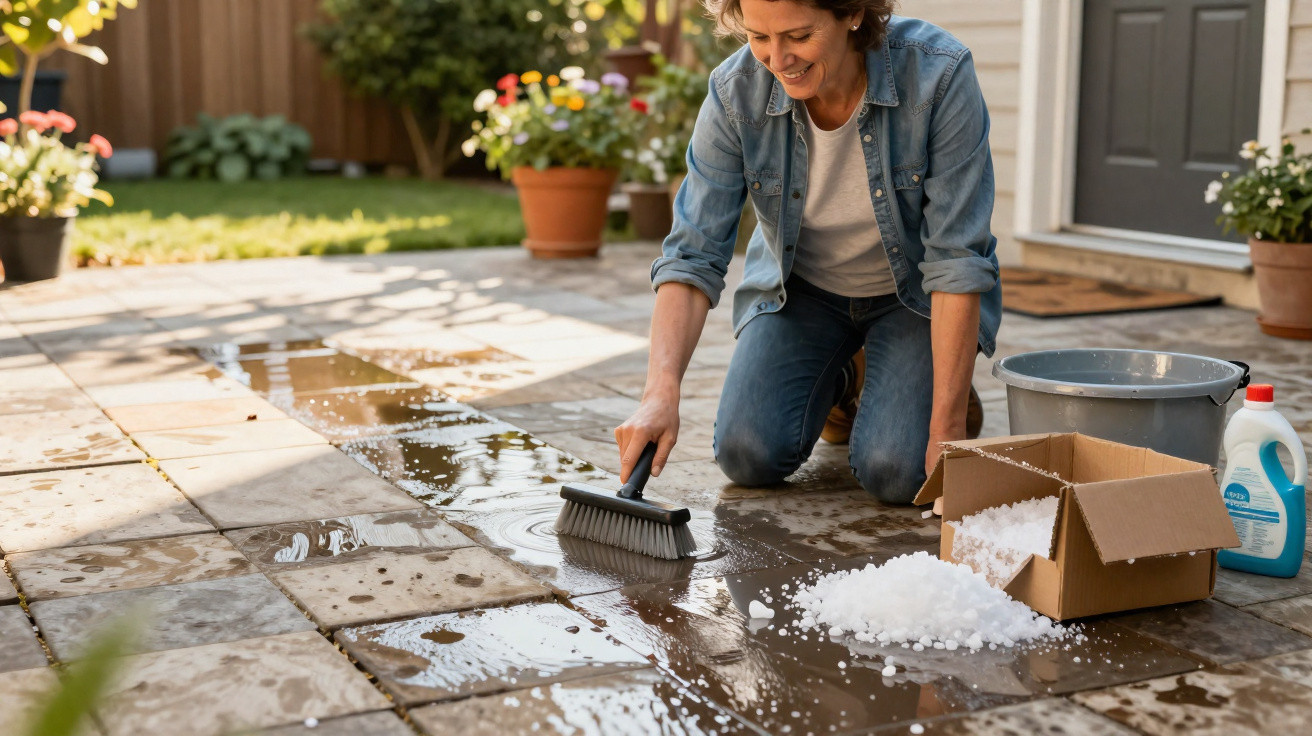
Rather than reaching straight for a pressure washer or trying harsh cleaning products, a British DIY expert relies on a remarkably straightforward solution: two inexpensive household items, a brush and a little patience. The result is a patio surface that looks newly laid, without harming either the joints or nearby flowerbeds.
Why patio paving looks so bad after winter
After months of rain, frost and limited sunshine, concrete slabs, block paving and natural stone surfaces accumulate algae, moss, lichen and everyday grime. Weeds establish themselves in the joints, while garden furniture can leave rust marks or brown stains caused by wood tannins.
Many people automatically turn to three familiar options: a pressure washer, chlorine-based cleaner or supposedly helpful household remedies containing strong acids. While these may appear effective at first, they can also create further issues:
- Pressure washers roughen the surface and wash jointing material away.
- Harsh cleaners can damage mortar and certain types of stone.
- Acidic products may discolour natural stone and upset the balance of soil in flowerbeds.
This is especially relevant in small gardens, where patios, lawns and beds sit close together. Cleaning solution can quickly seep into the ground, potentially affecting microorganisms, earthworms and plants.
“The good news is that, for the vast majority of patios, two simple household products, water and a brush are all you need.”
Why it is better to avoid vinegar
Vinegar is often considered a “natural” all-purpose household cleaner, but it is only suitable for stone to a limited extent. Acetic acid can dissolve parts of certain natural stones, leave dull patches and, in the worst cases, damage fine surface structures. Concrete slabs may also deteriorate over time, particularly when treated repeatedly.
There is another concern: the acid can penetrate joints, adjoining beds and lawns. Microorganisms that contribute to healthy soil do not respond well to this. As a result, nutrient cycles and soil life can be disrupted, even if the damage is not immediately visible.
The two simple products for a clean patio
The British DIY channel “Fix it with Fowlers” uses a considerably gentler combination:
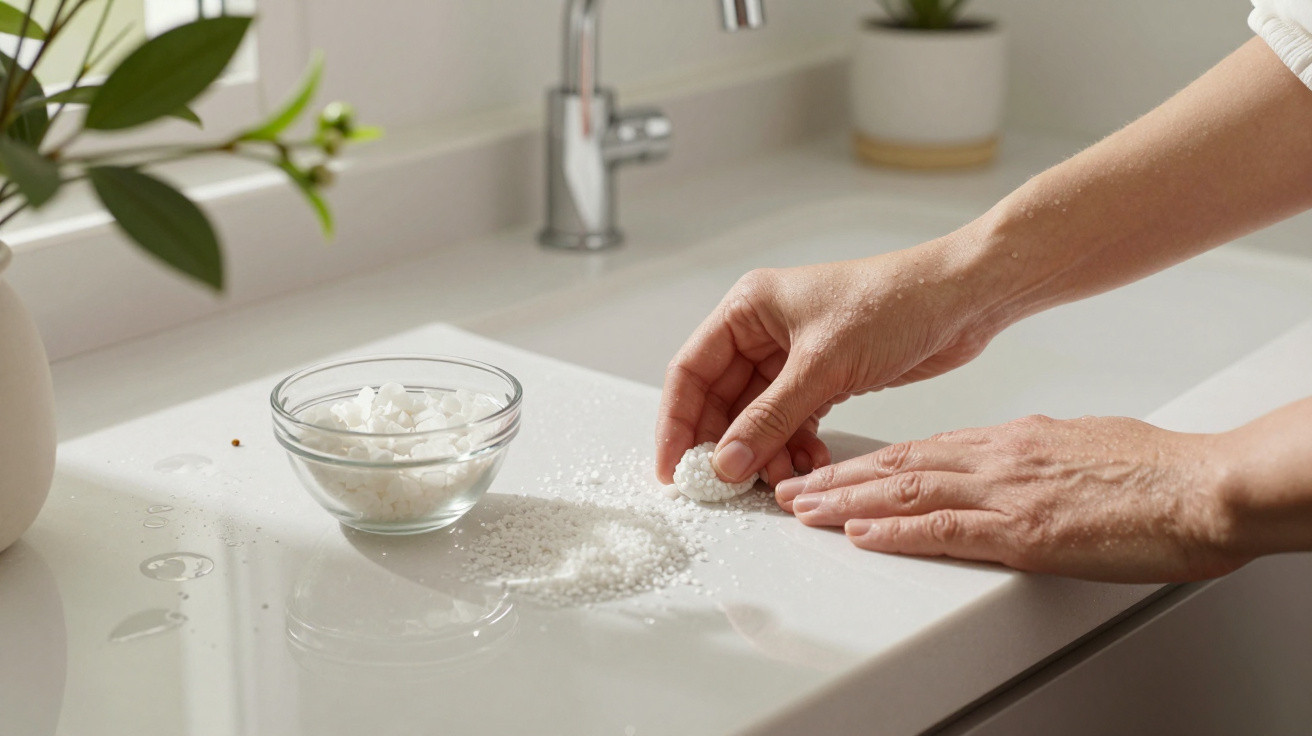
- Soda crystals (washing soda)
- Ordinary washing-up liquid
What soda crystals actually do
Many people know washing soda from laundry care. It is an alkaline salt that breaks down grease, loosens organic dirt and lifts deposits from hard surfaces. Unlike strongly caustic sodium hydroxide, also known as caustic soda, washing soda is far milder and can be used more safely around the home when a few basic precautions are followed.
Typical effects on a patio include:
- Algae and green deposits come away from stone more easily.
- Greasy, dark build-up, such as barbecue fat, is easier to scrub off.
- General dirt and traffic film are loosened and can be rinsed away with water.
Why washing-up liquid works well with it
Washing-up liquid adds surfactants to the mix: substances that surround grease and dirt and hold them in water. This is particularly useful after barbecues, where there has been plenty of candle wax, or where road grime has settled. A basic colourless washing-up liquid without chlorine or bleaching additives is entirely sufficient.
“Soda crystals loosen the dirt, while washing-up liquid carries it away with the water – a simple but highly effective combination.”
Step by step: how the two-product patio method works
1. Prepare the patio
- Sweep away loose leaves, soil and twigs thoroughly.
- Remove weeds from the joints using a joint scraper or narrow putty knife.
- Wet the patio surface well with a garden hose. The paving should be damp, not flooded.
2. Apply the cleaning mixture
This is where the two products are used:
- Scatter soda crystals lightly over the wet surface. Do not cover it heavily; use them sparingly.
- Apply washing-up liquid in selected spots. A few lines or drops spread across the area will do.
If you prefer working with a bucket, you can make a solution instead: dissolve a few tablespoons of soda crystals in a bucket of hot water, add a squirt of washing-up liquid, stir well and apply it using a stiff brush.
3. Work it in with a brush
Use a firm scrubbing brush or a yard broom with robust bristles to work the mixture into the paving. Tackle the surface in small sections:
- Work from the outside inwards, or away towards the house wall, so the solution does not repeatedly run over areas that have already been cleaned.
- Spend a little more time on heavily soiled areas, such as rust stains, using circular scrubbing motions.
- Do not overlook the joints, as algae and lichen often settle there.
4. Leave it to work – and be patient
Rather than rinsing everything off immediately, the DIY expert allows the mixture to do its job. It can be left on the surface for up to two days. Rain is not ideal, although a light shower will usually not cause a problem provided it does not wash the solution away completely.
The results are often visible after just one day: deposits turn greyish, dry out and become easier to remove. Once the waiting time has passed, use the garden hose again, or, on a gently sloping surface, slowly pour over a bucket of clean water.
“The longer the mixture is left to work, the more thoroughly it loosens old deposits – without noise and without damaging the surface.”
Safety, common mistakes and material differences
How to protect your home and garden
- Keep children and pets off the area while the mixture is left to work.
- Rinse thoroughly with water afterwards so that no puddles of concentrated solution remain.
- If in doubt, lightly water sensitive ornamental plants at the edges beforehand, preventing their roots from coming into contact with concentrated alkaline solution.
For very pale or sensitive natural stones, including limestone, sandstone and travertine, it is worth carrying out a test in an inconspicuous corner. Leave the mixture briefly, rinse it away and check that the colour and surface have not changed.
What is best avoided
A number of common quick fixes can lead to longer-term problems:
- Chlorine cleaners and strong solvents can cause pale marks and make joints brittle.
- Wire brushes and abrasive pads scratch the surface, allowing dirt to adhere even more readily later on.
- Excessive pressure from a pressure washer removes jointing material and chips edges, especially on older patios.
How to keep the patio cleaner for longer
A simple routine for the season
A few modest changes in routine mean that intensive deep-cleaning does not need to be repeated constantly:
- Sweep the area every one to two weeks to prevent a damp layer of leaves and soil from building up.
- Use saucers beneath plant pots and avoid standing water, which reduces the chance of dark marks forming.
- Deal with barbecue grease and food-fat stains promptly using a little washing-up liquid and warm water.
Before winter, it is worthwhile repeating the two-product method more lightly. This gives the patio a much better start in spring, without heavy green deposits.
Additional tips for different patio surfaces
Concrete slabs and block paving
This approach usually works without difficulty on these surfaces. Their rough texture absorbs the solution well, and dirt can be brushed out relatively easily. Take some care with very old, crumbling joints, however, so that too much material is not washed away.
Natural stone and premium surfaces
More sensitive stones can react differently to alkaline cleaners, so a small test is essential. If the surface becomes dull or its colour changes, switch to a weaker concentration or a stone-care product specifically approved for that material.
Anyone who has invested in an expensive natural stone patio can also consider applying an impregnating treatment. This makes it harder for stains to penetrate and makes future cleaning with mild products even easier.
This keeps the patio looking good for longer, without needing to start up a noisy pressure washer every spring or handle aggressive chemicals. In many cases, two simple products and a little time are entirely enough.



Comments
No comments yet. Be the first to comment!
Leave a Comment