Fingerprints, water marks and dull bands that refuse to polish away: stainless steel can soon look less like a sleek finish and more like a mirror that has given up. Yet one everyday kitchen essential can restore its lustre within minutes-and it is probably already in your cupboard.
My fridge door had become a gallery of handprints and hazy curves left behind by last week’s “deep clean”. I tried the cleaner again, swapped to another cloth, then even used my sleeve. Somehow, the streaks only became more determined.
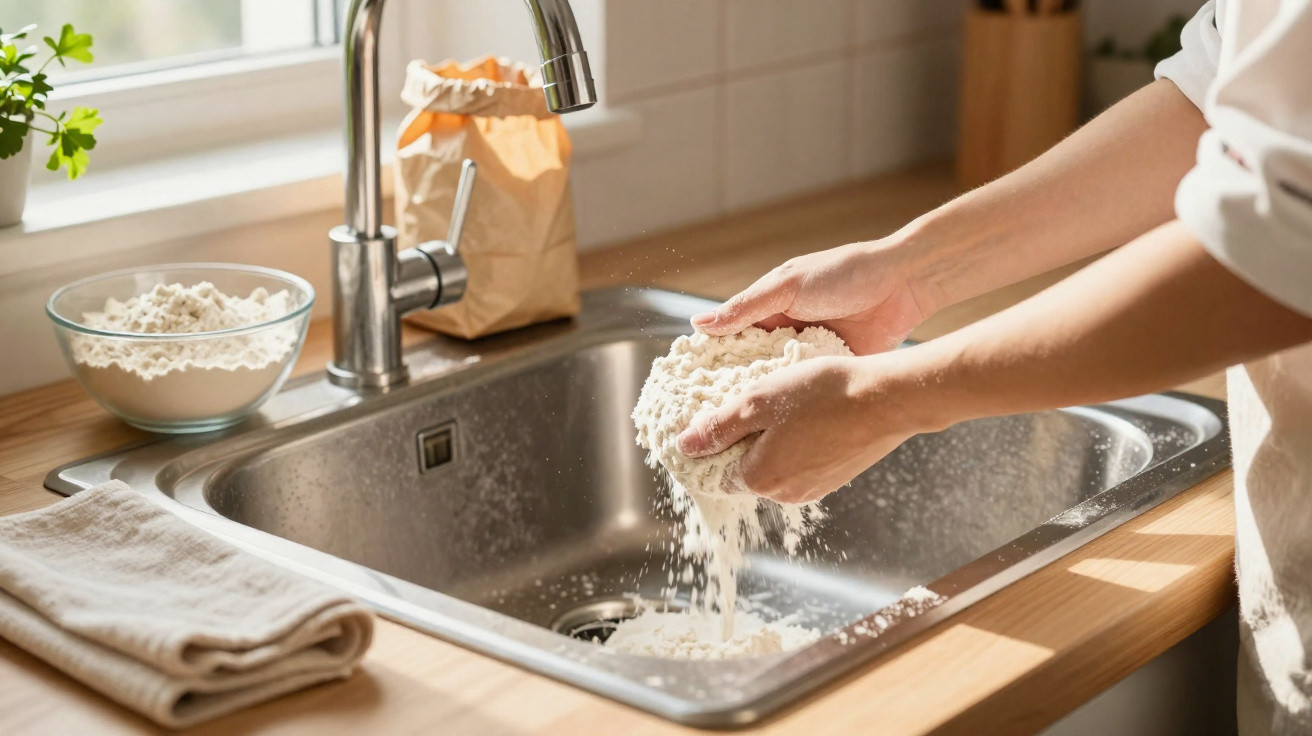
We have all faced the moment when an attempted solution makes the problem worse. A neighbour called from her doorway, “Try flour.” Flour? The packet was sitting in its usual spot, looking entirely unremarkable. I dried the steel, scattered on a small pinch and gently rubbed with a soft towel. The cloudiness vanished as though I had cleared condensation from a window.
That modest bag in the cupboard achieves what many expensive cleaners fail to do. It does not conceal the problem; it polishes the surface. The answer was flour.
Why stainless steel looks dull - and the simple flour fix
Stainless steel is not necessarily stained. More often, oils, hard-water minerals and tiny scratches disrupt the way light reflects from it. Cleaning removes grease but can leave behind a pattern that catches the light like zebra stripes, which makes the surface appear dull.
The overlooked solution is ordinary flour. Plain flour is a fine, dry, food-safe powder. When it is buffed with a soft cloth, its particles work as an extremely gentle polish. They remove residue missed by spray cleaner and smooth the direction of the grain, allowing light to reflect evenly again. There is no complicated formula involved-just pantry-cupboard physics.
I tried it on three surfaces: a sink marked with water spots, a kettle with heat haze and the large stainless steel door that seems to clash with sunshine. I used washing-up liquid on the sink, warm water on the kettle, and thoroughly dried both before starting. With a teaspoon of flour, slow circular movements and a clean final wipe, every surface looked crisper in under four minutes. There was no fragrance, no coating and no residue-only the metal finish you paid for.
The reason is straightforward. Flour is a very mild abrasive that is softer than stainless steel, so it can polish without scratching. Keeping the surface dry is essential: moisture turns flour into a paste, and paste creates streaks. The dry powder works into microscopic grooves and levels them by the smallest amount. It is like a barista’s final polish of a chrome coffee machine: nothing is added, but clarity is brought back.
The flour trick for stainless steel, step by step
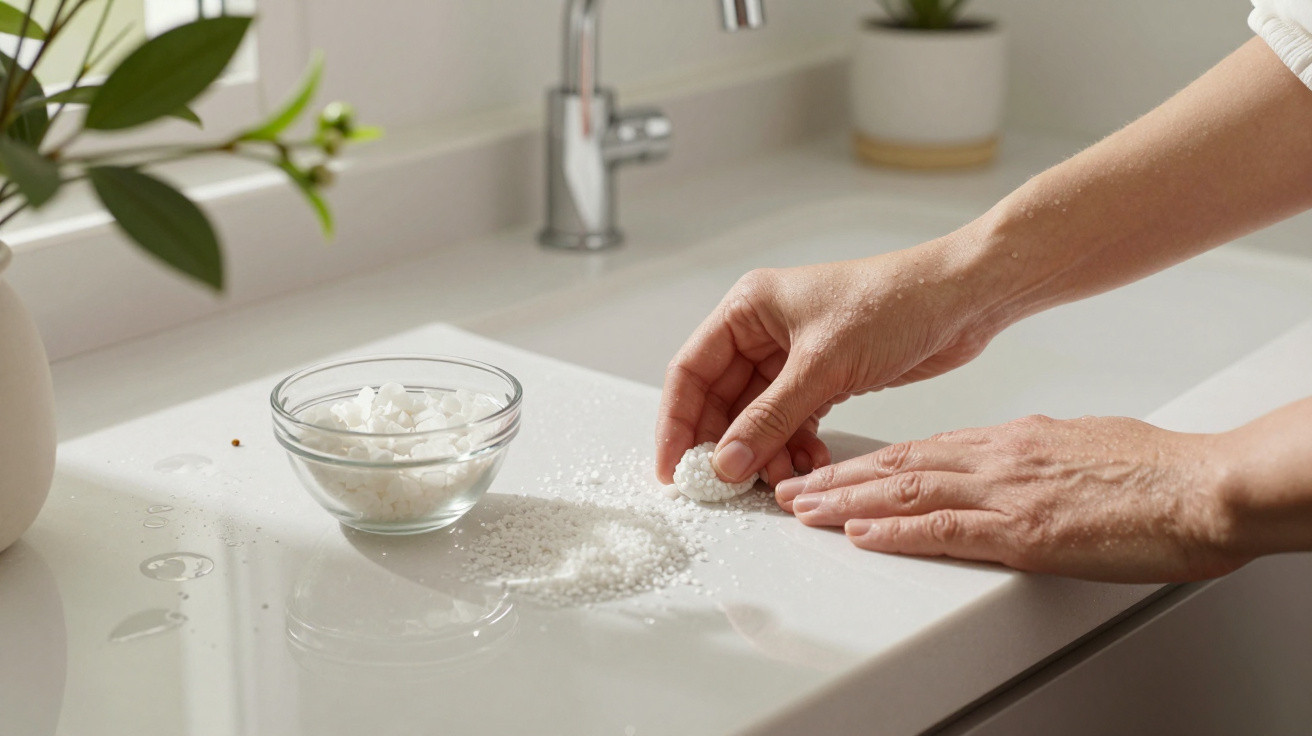
Begin with steel that is clean and cool. Remove grease using a drop of washing-up liquid and warm water, then rinse and dry it completely with a microfibre cloth. The crucial step comes next: scatter a small pinch of flour-only one teaspoon-over the surface.
Less is more: a teaspoon can polish a fridge door. With a dry, soft cloth, buff the area in small circles before making the last passes in the direction of the metal grain. Apply only gentle pressure. This is polishing, not sanding. Once the shine appears, use a clean section of the cloth to lift away the flour. If you would like extra resistance to fingerprints, finish with the faintest dab of olive oil on a towel. Use one pass, then leave it there.
The most common errors are easy to make-and very human. Never use flour on a damp surface or in a wet sink, as it will clump into a paste and leave streaky marks. Do not wash heaps of flour down the plughole; wipe it up and put it in the bin instead. Avoid this method on black stainless steel or coated finishes, and test an inconspicuous corner first. Realistically, nobody does that every day. However, spending ten seconds on a patch test once should be enough.
There is a satisfying rhythm once you get the method right: quick, gentle and effective. A veteran house cleaner told me, “Dry is where the magic lives. If it’s dry, flour wins.”
“I’ve tried every branded steel spray under the sun. Dry metal, a pinch of flour, microfiber, and a final clean wipe beats them all for true, streak-free gleam.”
- What you need: washing-up liquid, two microfibre cloths, 1 tsp flour and a tiny drop of olive oil (optional).
- Do: clean and dry the surface first; buff gently; finish by following the grain.
- Don’t: use it on coated or black steel; tip flour into the sink; polish a hot surface.
- Time: 3–5 minutes for each appliance door; 90 seconds for a kettle.
- Bonus: keep a dry, labelled “polish cloth” specifically for this task.
A brighter kitchen begins with small rituals
Most lasting shine does not result from huge scrubbing sessions. Instead, it comes from small, repeatable actions that do not feel like a chore: a weekly wipe, a speedy polish and that gratifying final stroke that says the job is finished.
Some advice feels like a gimmick, but this one feels like a relief. The flour is already in your kitchen. It does not smell like a hotel lobby or leave behind an unexplained film. It simply brings back the soft, costly-looking glow that makes you feel like cooking.
Shine is not vanity; it is momentum. When the sink gleams, worktops tend to stay tidier. When the fridge door is not shouting about fingerprints, you use the handle rather than touching the front. There is another quiet advantage, too: your home feels worth caring for again. Pass the trick on to a friend who relies on sprays. Tell them to use a teaspoon, then watch them smile when the haze disappears.
| Key point | Detail | Benefit for the reader |
|---|---|---|
| Use flour on dry stainless steel | Clean and dry the surface, then buff one teaspoon of flour with a microfibre cloth | Quick, streak-free shine using cupboard basics |
| Why it works | Flour’s fine particles act as a gentle, food-safe polish | Mirror-like clarity without harsh chemicals or residue |
| Finish wisely | Wipe away the flour, then optionally apply a tiny drop of olive oil | Fewer fingerprints and longer-lasting lustre |




Comments
No comments yet. Be the first to comment!
Leave a Comment