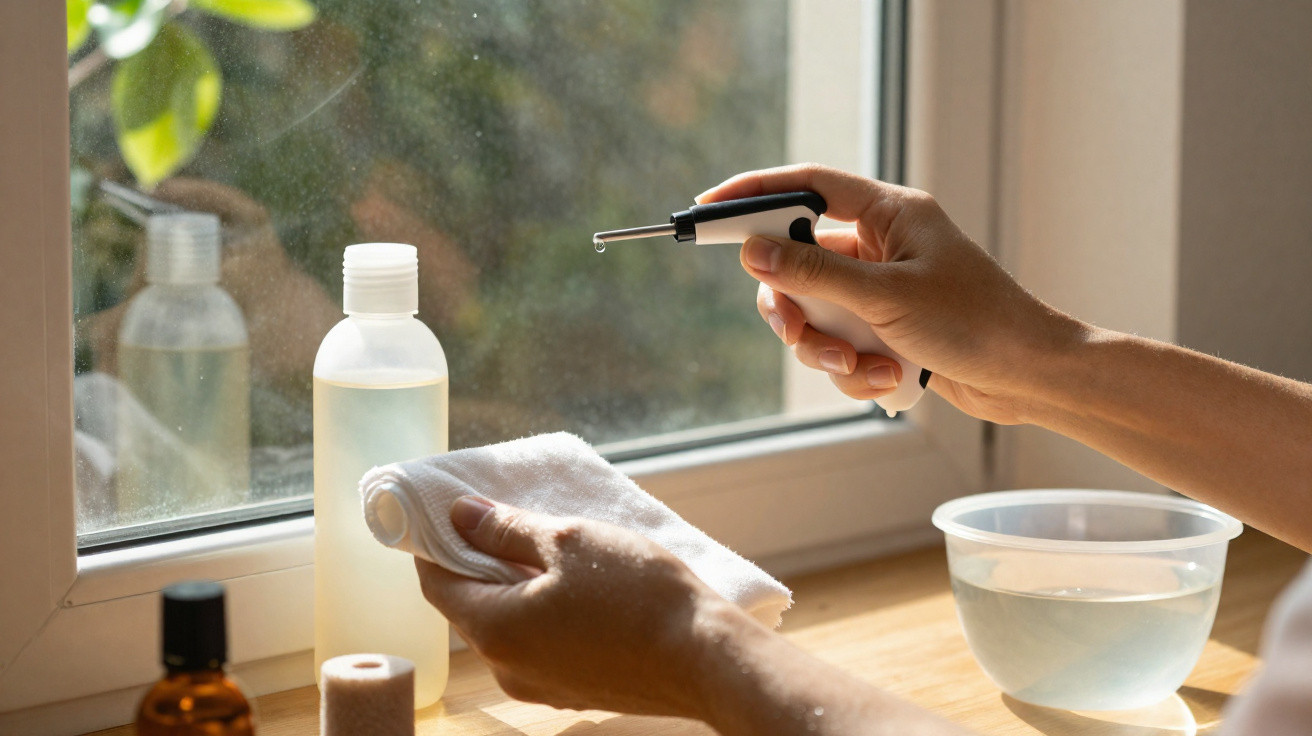
Timing, method and an unassuming cupboard essential can transform the appearance of your windows.
Throughout the UK, households are replacing branded glass cleaners with straightforward alternatives that deliver. Higher costs play a part, yet performance is the main reason. Using the proper method, spotless glass requires just one bottle and some patience.
Why modern glass gets streaky
Streaks are caused by leftover residue. They result from soap surfactants, minerals in tap water and fibres shed by worn cloths. Sunlight then bakes this residue onto the surface. Glass that is warm dries too quickly, creating tide marks before you complete each stroke. Double-glazed units, rubber seals and trickle vents also gather dust around their edges, which can spread over the pane as you wipe.
Work in the shade. Start with dust-free glass. Keep the liquid moving until you squeegee it off. That prevents tide marks.
The single-ingredient solution: white vinegar
Ordinary distilled white vinegar removes grease and breaks down limescale. Its acetic acid loosens the connection between mineral deposits and glass, allowing the liquid to run off in sheets instead of sticking. It evaporates faster than soapy water, which is useful when your timing is right. There are also no perfumed oils or colourants left behind to smear during buffing.
Get the mix right
Use a stronger solution for grimy windows, and dilute it more for weekly upkeep. Homes in hard-water areas benefit most by using distilled rather than tap water in the solution.
Heavy grime: 1 part white vinegar to 1 part warm water. Maintenance: 1 part vinegar to 3 parts water. Hard water: use distilled water.
Clean windows like a professional
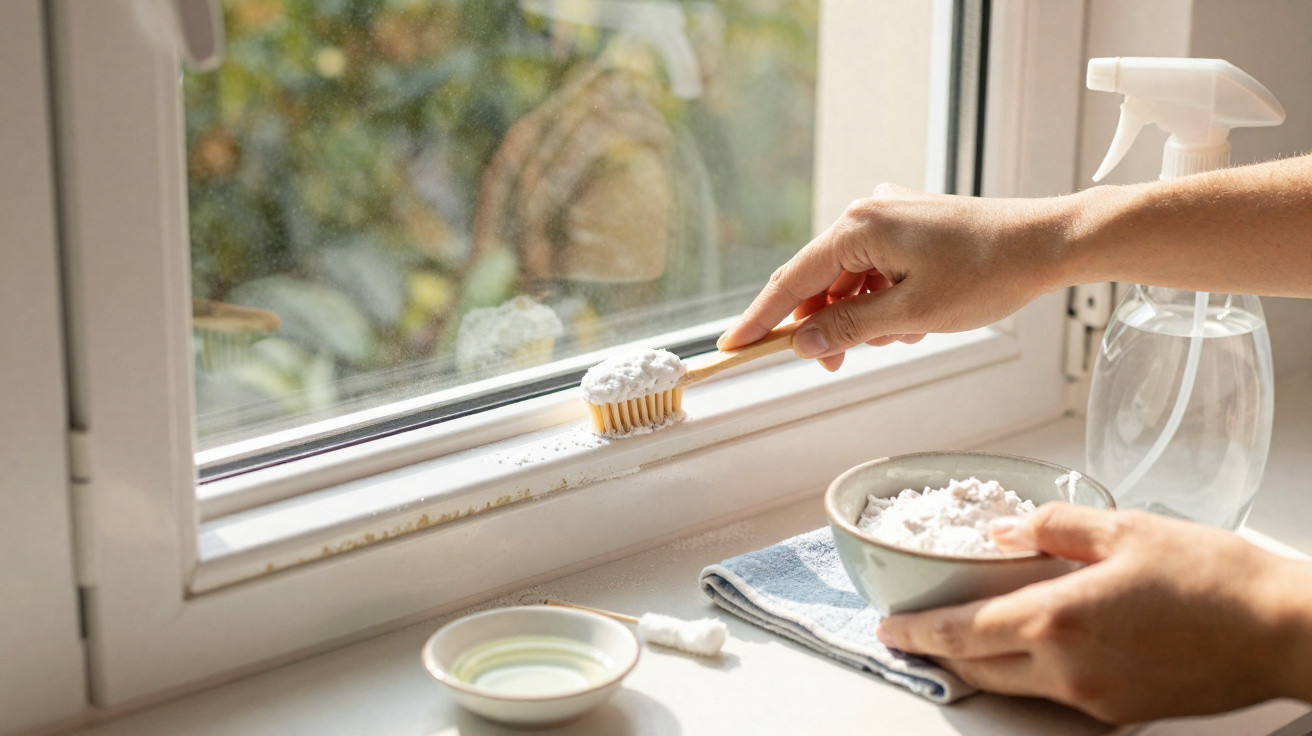
First, brush down the frames and sills. Any loose grit can scratch the glass when caught beneath a cloth. Apply a fine, even spray rather than soaking the pane, and avoid saturating the seals. Wipe around the edges before moving to the middle. Pull a rubber squeegee from top to bottom in straight strokes, overlapping each one by the width of your thumb. Dry the squeegee blade with a cloth after every pass. Use a folded microfibre cloth around the borders to collect drips. Squeegee vertically indoors and horizontally outside. Should you notice a line, this makes it immediately clear which side needs another wipe.
Equipment list and simple steps
- Distilled white vinegar
- Warm water (distilled in hard-water areas)
- Trigger spray bottle
- Microfibre cloths (one damp, one dry)
- Soft brush for frames
Rubber squeegee with a clean, nick-free blade
Remove dust and cobwebs with a brush.
Apply a light spray of vinegar solution.
Work loose any marks using the damp cloth.
Squeegee from top to bottom with overlapping strokes.
Polish the edges and any light streaks using the dry cloth.
Mistakes to steer clear of
- Washing windows in direct sunshine, as the solution dries before it can be squeegeed away.
- Using fabric conditioner on cleaning cloths, because it creates a smearing film.
- Applying too much liquid to the pane, which carries dirt towards the edges.
- Failing to maintain the squeegee blade, as small nicks produce thin lines.
- Missing out the dusting step, since grit causes micro-scratches that catch the light.
Handling difficult situations
Hard-water stains and sea spray
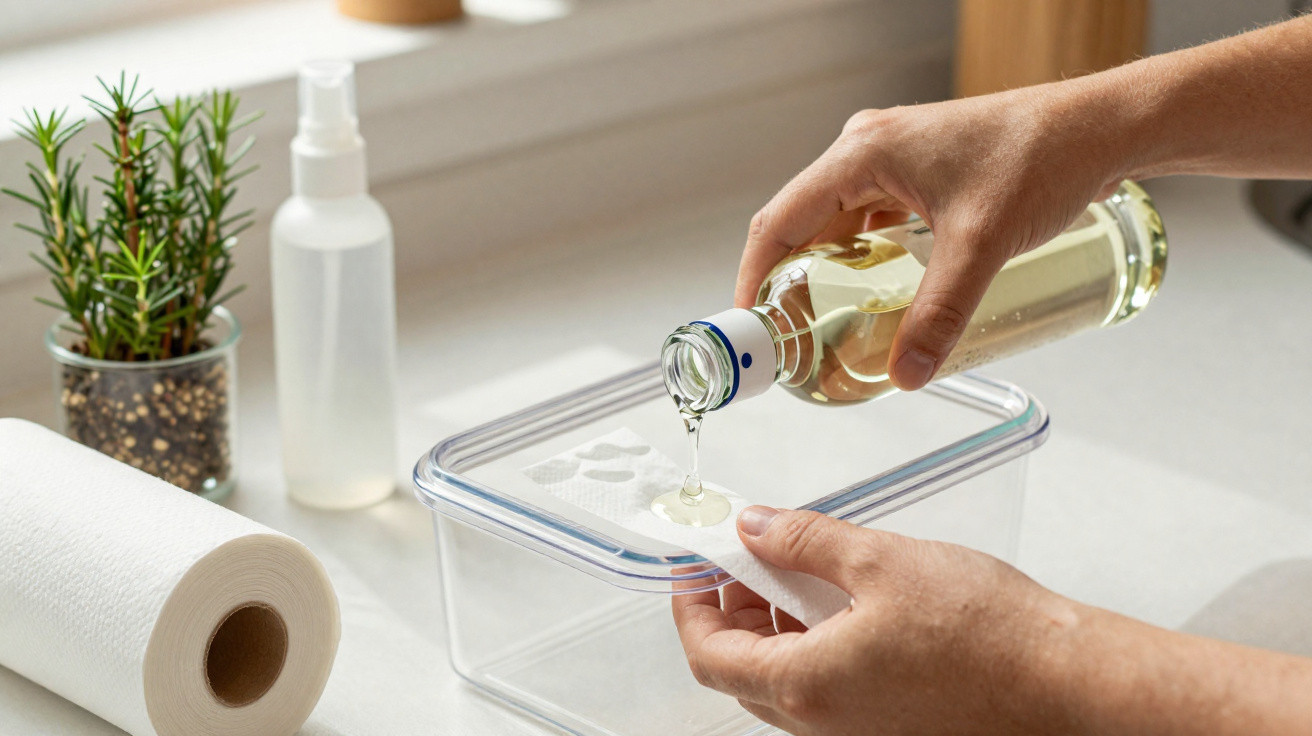
Saturate a paper towel with warm vinegar, then hold it against the marked section for five minutes. This contact time allows the acid to break down calcium deposits. If needed, carefully use a plastic blade, then rinse with the usual mixture and squeegee dry. Be patient and repeat the process rather than applying more pressure.
Greasy kitchen glass
Although vinegar cuts through cooking residue, it needs a little time to work. Spray the surface, leave it for one minute, then wipe and squeegee. For baked-on film around hobs, complete two cleaning cycles instead of scrubbing. It is more difficult to repair scratches in greasy glass than to repeat a pass.
Is vinegar better than shop-bought cleaners?
| Method | Streak risk | Best use |
|---|---|---|
| White vinegar mix | Low when used in shade | Daily and hard-water spots |
| Commercial glass spray | Medium if over-applied | Quick touch-ups |
| Water only | High in hard-water areas | Fresh dust with a squeegee |
Beyond windows: where vinegar is suitable - and where it is not
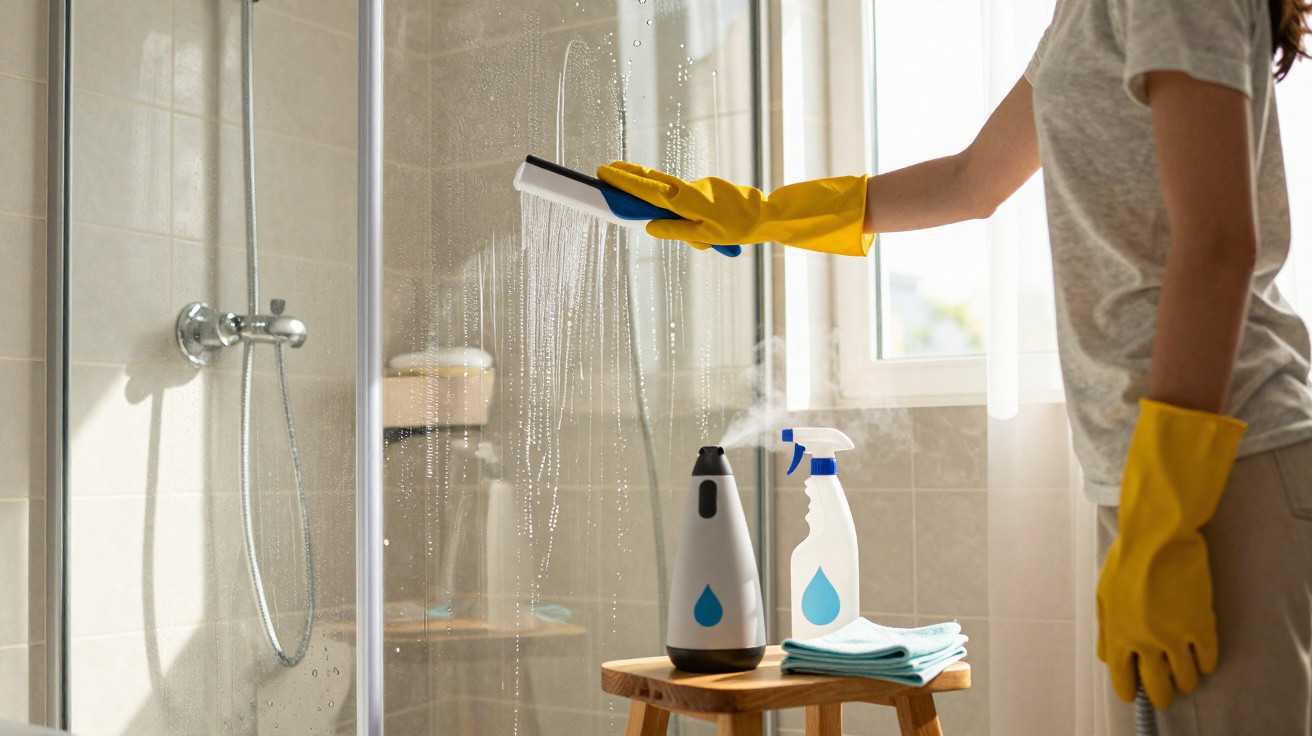
The same solution works effectively on mirrors, shower screens, greenhouse panes and car side windows. It is not appropriate for phone or television screens, coated camera glass, natural-stone sills or marble thresholds. Acid can dull stone. Avoid leaving liquid on painted wood or unsealed aluminium during long soaks; a brief wipe is acceptable, but standing puddles may mark the finish.
How weather affects shine
Overcast days offer the best conditions, as the surface remains wet long enough for clean squeegeeing. Morning condensation can work against you in cold weather, so wait until the pane feels neutral when touched. In pollen season, wind blows fine dust onto damp glass. Stand with the breeze behind you and work in smaller areas, preventing airborne particles from landing before you are done.
Cost, safety and small print
Once diluted, a litre of white vinegar costs only pennies per window. Refill your spray bottle and keep its cap closed, helping to prevent corrosion around the trigger. Its smell disappears while drying; open a window and it will be gone within minutes. Never combine vinegar with bleach or chlorine-containing products, as this produces a dangerous gas. If you have respiratory sensitivity, use lightweight gloves and maintain ventilation in the room. Test a small area near the bottom of the frame where windows have specialist coatings or aftermarket tints.
Extra benefits: maintain lasting clarity
On inside panes only, complete the job with a final dry polish using a clean microfibre cloth. Indoor glass encounters fewer contaminants, meaning a dry finish remains clear for longer. Reserve one cloth solely for glass; after it has been used with polish or detergent, keep it for other tasks. Choose distilled water if your taps are chalky and your kettle quickly develops crusty deposits. This eliminates a frequent source of streaks before cleaning even starts.
A repeatable quick plan
Cleaning with vinegar every month keeps the glass clearer between deeper cleans. Begin with frames, followed by the glass. Work around the house in a consistent sequence to establish a routine. By the second cycle, you will probably halve the time it takes. Cleaner windows brighten rooms, increase daylight and make it easier to identify draughts, worn seals and early condensation problems before they become expensive.







Comments
No comments yet. Be the first to comment!
Leave a Comment