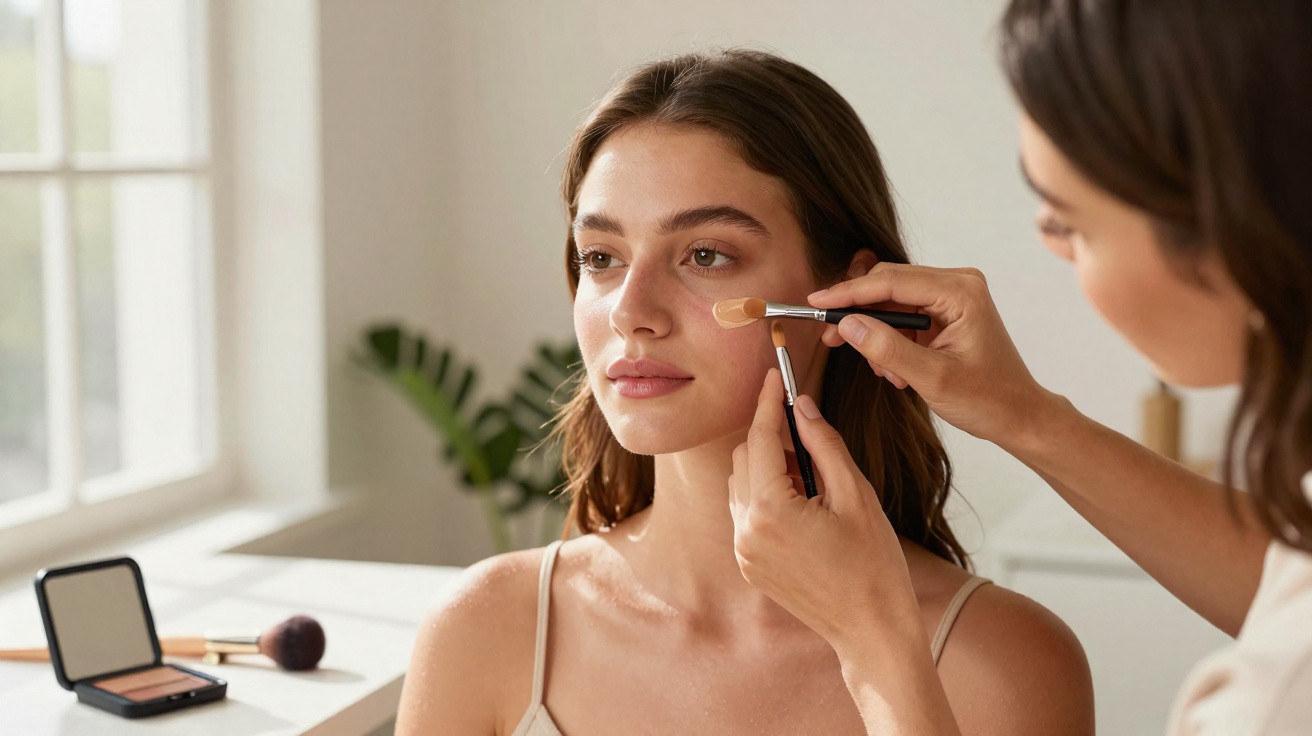
Foundation is seen by many as a bathroom saviour: apply it once and spots, redness and dull-looking skin seem to disappear. Yet after a few hours, the mirror often reveals a less flattering reality: a shiny forehead, a greasy-looking bridge of the nose and colour that has settled into fine lines. A professional has explained that the mistake often begins with how foundation is distributed – and that two areas of the face need far less product than most of us think.
Why traditional foundation routines so often fail
Anyone who carefully applies foundation in the morning expects an even complexion that lasts until the evening. In reality, make-up settles into pores and lines, the nose becomes shiny and the face can look “caked on”. Many people respond in the wrong way, adding layer after layer during the day – and each application makes the result heavier and less natural.
A make-up artist with many years of experience attributes this not only to the choice of product, but above all to technique. In his experience, foundation is spread too evenly across almost every face. Skin is not the same everywhere: some areas produce considerably more sebum, while others are drier or marked by fine lines. Ignoring those differences intensifies the usual make-up issues.
The professional tip is: do not use the same amount of foundation everywhere; instead, deliberately “ease the load” on certain zones.
The sensitive T-zone: where most foundation problems begin
The focus is the familiar T-zone: the centre of the forehead, the bridge of the nose, and the area around the mouth down to the chin. This zone tends to become shiny more quickly, particularly on combination or oily skin, because it produces more sebum. Ironically, the areas people usually want to cover most thoroughly are often the first to look uneven.
Foundation cannot adhere reliably in this zone. It shifts, collects in pores and draws attention to texture. Rather than looking smooth, the complexion can appear patchy and greasy. Reaching for heavy layers of powder afterwards only heightens the mask-like effect.
- Forehead: prone to shine, fine lines and visible pores
- Nose: produces plenty of sebum, so foundation quickly “moves”
- Chin: a mixed area that can become shiny but may also be prone to blemishes
The make-up artist repeatedly notices the same pattern among clients: around an hour after applying make-up, they powder precisely these areas again. By the end of the day, the skin is carrying a thick layer of foundation, powder and sebum. It feels heavy and looks that way too.
How to apply foundation without overloading the forehead and nose
The recommended approach is surprisingly straightforward. Rather than spreading the same quantity of product across the entire face, begin with areas that often look uneven but are less prone to shine: the cheeks, chin and neck. These can take more coverage, as they benefit most from a uniform tone.
Follow these steps:
- Place a small amount of foundation on the back of your hand.
- Using a brush, sponge or your fingers, even out the cheeks, chin and neck first.
- Sweep only the remaining product left on the tool over the forehead and nose – buff it in rather than “painting” it on.
- Blend the edges softly instead of picking up more product.
This leaves only a fine, almost imperceptible veil on the forehead and nose. The skin’s texture remains visible, yet appears more balanced. The complexion gains lightness instead of looking like a rigid mask.
Less product on the T-zone means: less shine, less shifting, fewer touch-ups – and a natural finish.
What about spots, redness or pigmentation marks?
Many people worry that reducing foundation will leave blemishes or redness exposed. Instead, the professional recommends targeted correction. In other words, treat individual problem areas rather than “plastering over” the whole forehead or nose.
Targeted coverage rather than a mask
Concealer or specialist correcting products work well for small imperfections. Apply them directly where needed and blend them in gently.
- Spots: place a tiny dot of concealer directly on the area and lightly tap it in.
- Redness around the nostrils: use very little product and blend it well so that no edge remains.
- Dark marks: use a colour-correcting product if required, then apply an ultra-thin layer of foundation over it.
This method may take a little practice initially, but it produces a notably more natural result. The rest of the complexion stays light, while only what is genuinely distracting is neutralised.
Bronzer instead of heavy foundation on the forehead
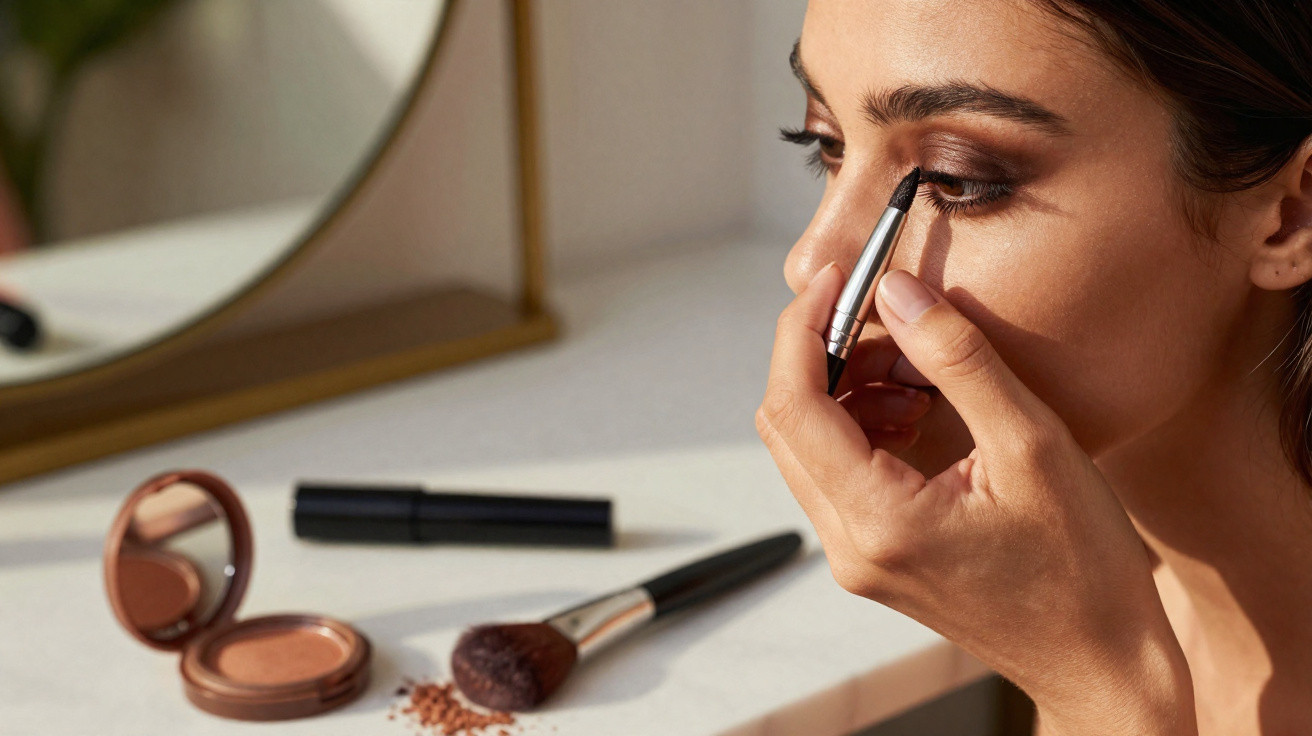
To keep the forehead looking cohesive, the make-up artist advises using bronzer sparingly. Apply it only along the upper edge of the forehead, following the hairline. This adds visual warmth without weighing down the centre of the forehead with extra coverage.
Adapt the technique to your skin type
The principle remains the same, but small adjustments are needed for different skin types to make the method work at its best.
For oily or very shiny skin
Anyone prone to pronounced shine can pair the reduced amount of foundation with targeted mattifying:
- Work a very fine translucent powder only into the T-zone.
- Apply powder with pressing motions rather than sweeping it on, so the foundation stays in place.
- During the day, remove excess sebum first with a tissue or blotting paper.
- Only then add a very small amount of powder, rather than building new layers of foundation.
This keeps the complexion under control without creating the familiar “flour layer” look that often results from too much powder.
For dry skin and forehead fine lines
On dry or mature skin, too much foundation on the forehead creates a different issue: it settles into lines and fine wrinkles, then begins to flake over time. Using only a minimal amount of make-up in these areas makes the face look fresher and more relaxed.
Well-cared-for, hydrated skin often needs only a hint of product on the forehead to blend visually with the cheeks. Facial expressions remain flexible, lines look softer and the complexion appears less strained.
Skin preparation matters too
Even the best foundation technique achieves little if the skin underneath has not been prepared. The areas where you want to use less product especially benefit from suitable skincare.
| Skin type | Preparation | Foundation tip |
|---|---|---|
| Combination skin | Lightweight lotion, mattifying primer only around the nose | More coverage on the cheeks, almost no product on the forehead/nose |
| Oily skin | Oil-free moisturiser, local mattifier on the T-zone | Apply an extremely thin layer and use powder only where needed |
| Dry skin | Rich serum, possibly a hydrating primer | Liquid, lightweight foundation; use only leftover product on the forehead |
| Mature skin | Skincare with a glow effect, avoiding overly heavy creams | Keep coverage more towards the outer face and leave the centre sheer |
Why less foundation can often look younger
One unexpected benefit of this method is that the face can look not only fresher, but often younger too. Thick layers of foundation remove the skin’s natural reflectiveness. Light then bounces only from a dense layer of product, which can make unevenness more noticeable.
When the forehead and nose are made up with only the thinnest veil, some of the skin’s natural radiance remains without looking oily. Contours appear more alive and facial expressions look less “frozen”. This effect is particularly noticeable in selfies and video calls.
Practical tips for everyday wear
If you want to try the new technique, it is best to start on an ordinary working day rather than before a major event. A small change to your routine can feel unfamiliar at first, especially if you have used “full-face foundation” for years.
- On the first day, deliberately use less product and correct individual areas only if needed.
- Check your complexion in daylight from time to time to see how it develops.
- Take photos on your phone – this makes it easier to spot any patchiness.
- Stick with the method consistently for a few days before judging the outcome.
If you like, you can also test different textures alongside it: serum foundations, tinted moisturisers or water-based products often work especially well with this approach because they blend out more finely.
The central idea always remains the same: not every area of the face needs the same amount of make-up. Respecting that saves product, time and frustration – while giving you a complexion that looks cared for all day without appearing “too much”.















Comments
No comments yet. Be the first to comment!
Leave a Comment