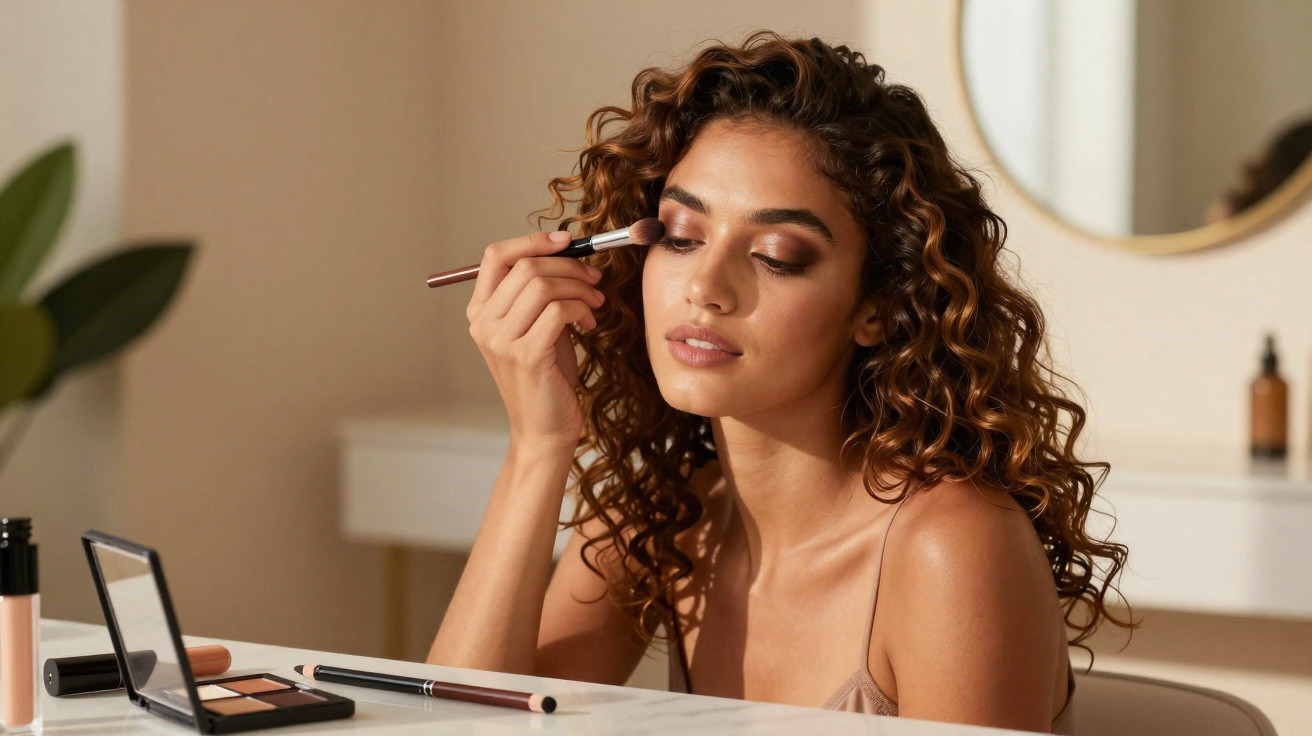
The classic black smoky look now has a challenger. More and more make-up professionals are reaching for warm brown shades because they intensify the eyes without looking too harsh. Make-up artist Charly Salvator demonstrates a method that makes the brown Smokey Eye Look work not only on TikTok, but in everyday life too – even if mascara is normally the only step in your routine.
Why brown smoky eyes are everywhere right now
Black eyeshadow can quickly appear severe, draw attention to tiredness and make the eyes look smaller. Brown shades offer a subtler alternative. They softly frame the eye, enhance its natural depth and suit almost any occasion: the office, a date, a party or even a family celebration.
“The brown smoky look is the comfortable version of the classic: less strict, far more suitable for everyday wear – yet just as glamorous when you want it to be.”
There is another advantage: brown is easier to blend than deep black. Minor mistakes are less noticeable and the transitions look softer. It is ideal for anyone without professional-level brush skills who still wants expressive eye make-up.
The base: a successful smoky look needs a strong foundation
Your base determines whether eyeshadow looks patchy or truly melts into the skin. This is why Charly Salvator consistently starts with a creamy layer.
Step 1: A light cream base for an even eyelid
First, apply a light, neutral cream formula across the entire mobile lid and slightly above it. This could be a dedicated cream eyeshadow, an eye base or a solid concealer.
- Apply a thin layer and avoid product build-up
- Pat it in with your finger or a flat brush
- Blend up to the crease and a little beyond it
- Let it extend very slightly along the lower lash line
This layer neutralises redness and visible veins, visually smooths fine lines, and helps every product that follows adhere and blend more easily.
Step 2: Brown cream on the mobile lid
Next comes the real star of the look: a brown cream eyeshadow. Choose a medium to dark shade, depending on your skin tone.
Salvator’s approach is to place the brown primarily over the mobile lid, then sweep it upwards and outwards with a soft brush. The strongest concentration of colour should sit close to the lash line, gradually fading towards the brow.
“The cleaner the gradient from dark at the lash line to soft at the transition, the more expensive the look appears – regardless of the product price.”
If you have slightly hooded eyes, bring the brown a little higher into the crease and build up the outer corner. This gives a lifting effect and makes the eyes appear more open.
Adding depth to the brown Smokey Eye Look: eyeliner and soft contrast
Eyeshadow alone is rarely enough for a true smoky effect. Defining the lash line deepens the result and gives the eye more structure.
Step 3: Soft brown eyeliner for a smoky effect
Now apply a brown kohl pencil along both the upper and lower lash lines. Perfection is not the aim here – quite the opposite.
- Draw the line directly along the lashes; it can be slightly rough
- Smudge it with a small brush or cotton bud
- Pull the outer corner gently upwards
- On the lower lash line, stop halfway across the eye if you do not want the eyes to appear smaller
Once smudged, the kohl blends with the cream base to create a smoky gradient. Keep the edges soft, as sharp lines do not suit this look.
Step 4: Black kohl in the waterline – yes or no?
For extra drama, Salvator recommends applying black kohl to the waterline, meaning the inner rim of the eye right through to the inner corner. It adds depth, although it can quickly become too intense on very small eyes.
Tip: If you are concerned about making your eyes look smaller, apply black only to the outer third of the waterline and blend the edge into the brown kohl. The result remains intense without making the eye look “closed off”.
Powder products: making the look long-lasting and properly “smoky”
Cream products look fresh and lively, but they need setting so they do not settle into fine lines. This is where powder eyeshadows come in.
Step 5: Deep chocolate brown for the corners
Over the brown already in place, Salvator applies a dark chocolate powder shade, concentrating it on the outer third of the eye above and below. Work the colour into these areas with a small, fluffy brush, then blend it gently.
This creates greater dimension. The cream underneath provides depth, while the powder on top sets it and boosts the colour saturation. It also disguises any small imperfections in the blending.
Step 6: A lighter brown for a seamless gradient
Add a slightly lighter brown shade to the centre of the lid. It sits like a veil over the cream product, creating a soft transition from the dark outer corner to the middle of the eyelid.
“Two brown shades – one dark for depth, one medium for coverage – are often enough to make you look professionally made up.”
If you wish, add a subtly shimmery beige or champagne shade to the inner third of the lid. This brings light to the centre and makes the eye appear larger without spoiling the smoky effect.
Finishing touches: tidy, brighten and define the lashes
The final details determine whether the look appears complete or unfinished. Dark powder fallout is particularly likely to collect beneath the eyes.
Step 7: Concealer for crisp edges and freshness
A touch of concealer directly beneath the eye tidies everything up. Use a flat brush to clean and lightly brighten the area under the lower lash line. This leaves a defined edge without making it look harsh.
If you like, extend the concealer slightly upwards on a diagonal towards the temple. This trick gives the face a visually lifted effect, especially when skin looks tired or after a long day.
Step 8: A brow accent and a coat of mascara
A light matte shade directly beneath the highest point of the eyebrow subtly lifts the eye area. Skip chunky glitter; use a soft pale eyeshadow or understated highlighter instead.
Finish with mascara on the upper lashes and, for a genuinely smoky result, the lower lashes too. Several thin coats work better than one thick layer. Clumps ruin the polished effect.
Who is the brown smoky look suited to?
This trend is surprisingly versatile. In particular, people who quickly look overly made-up in black eyeshadow will usually find brown creates a more harmonious result.
| Eye shape | Benefit of the brown Smokey Look |
|---|---|
| Round eyes | Appear more almond-shaped and gain depth |
| Narrow eyes | A soft frame that does not make them look too closed off |
| Hooded eyes | Darkness at the outer corner can create a visual lift |
| Wide-set eyes | Emphasising the inner corner makes them appear closer together |
Brown often looks more natural than black on fair skin tones, too. On deeper skin tones, rich chocolate brown or a warm mocha shade creates a luxurious effect without appearing grey.
Lips, longevity and small risks
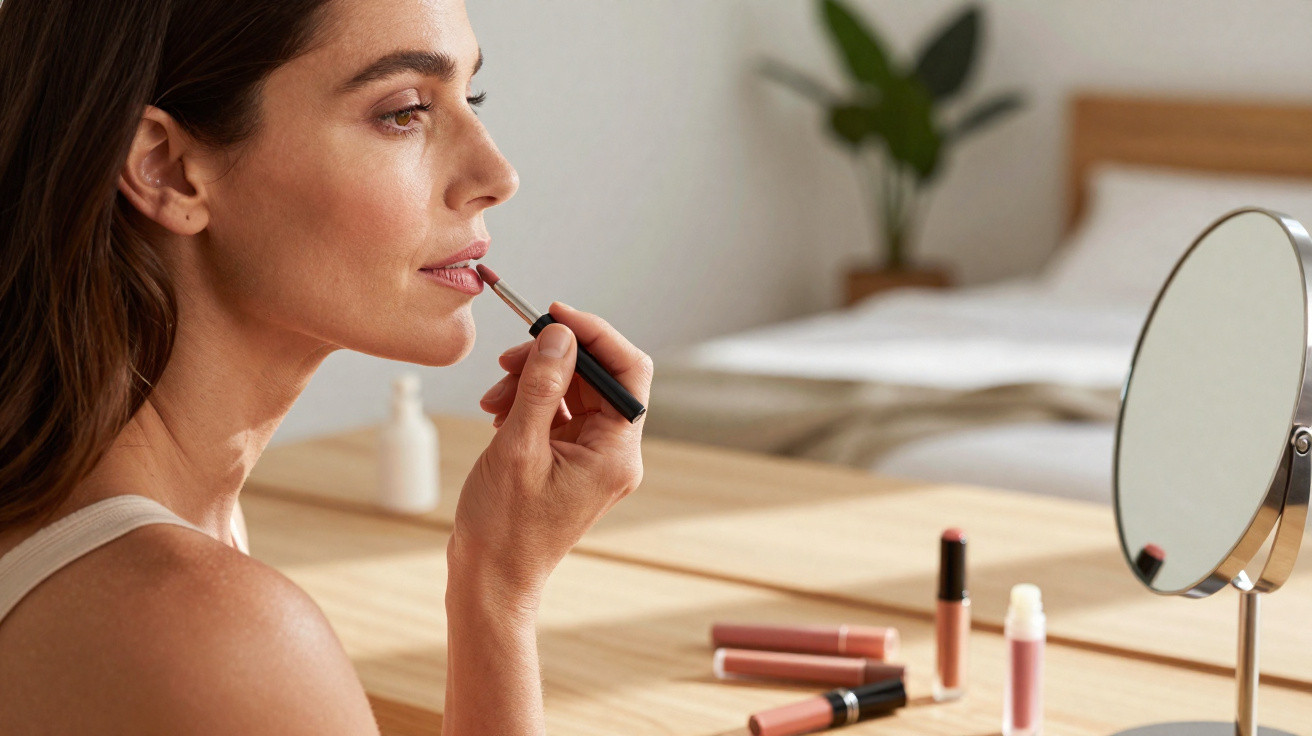
Since the eye make-up is the focal point, Salvator advises keeping the lips understated: a clear balm, a soft nude shade or a glossy finish. This keeps the overall look modern rather than overdone.
Anyone with frequently sensitive eyes should choose smudge-resistant formulas that are not overly drying. Very waterproof kohl pencils can be difficult to remove, potentially causing irritation from excessive rubbing. Gentle oil-based removers dissolve dark colours more effectively and are kinder to the skin around the eyes.
A practical additional benefit is that, once you have mastered the basic structure of this brown Smokey Eye Look, you can easily adapt it. Simply swap the brown for plum, khaki or taupe while keeping the same steps. With little effort, this creates a small range of evening and everyday looks, without needing to learn an entirely new technique every time.













Comments
No comments yet. Be the first to comment!
Leave a Comment