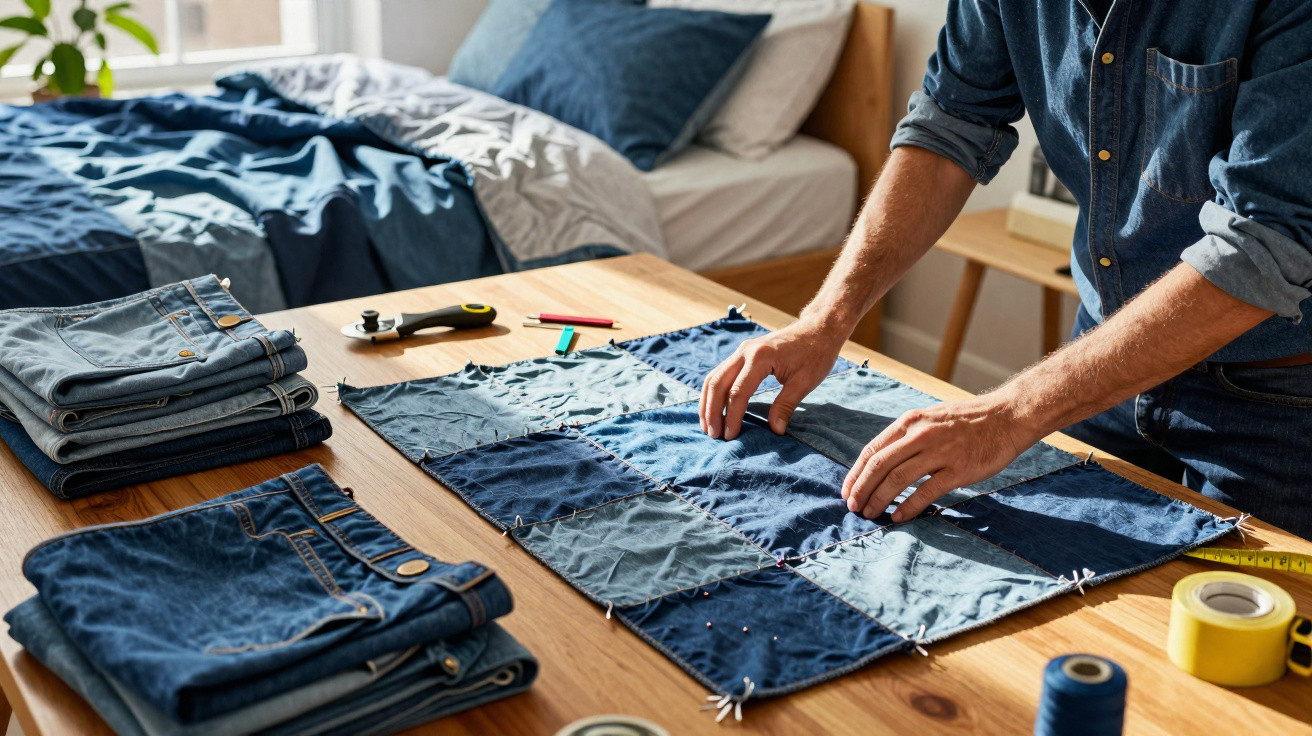
Those jeans that no longer fit, have faded, torn or simply been sitting at the back of the wardrobe can have a far more appealing future than the bin. With a sewing machine, thread and a little patience, denim offcuts can become a hard-wearing, washable quilt with the character of a handmade piece-one that keeps you warm while decorating the bedroom.
Why denim is ideal for making a quilt
Denim is an excellent choice for this project for good reason. It is among the toughest fabrics used around the home: it does not tear easily, withstands frequent washing without losing its shape, and is substantial enough to keep the filling in place so it does not shift after the first few washes. Anyone who has sewn with lighter fabrics will know how much this matters to the finished piece's lifespan.
Its mix of shades is another benefit. Old jeans often range from deep indigo to a faded, almost white blue, and the natural differences between squares create a rustic, appealing look that no shop-bought quilt can replicate. The effect becomes even more striking if you have jeans in assorted colours and washes.
- A good supply of old jeans: for a double bed, set aside between 4 and 6 pairs; for a single bed, 2 to 3 pairs should be enough, depending on the size of the squares you choose.
- Strong scissors and a ruler: accurately cut squares ensure the pieces fit together neatly when joined and that the quilt remains properly aligned.
- A sewing machine and durable thread: a size 18 needle is ideal for denim, which is thicker than standard fabrics; polyester thread provides greater durability.
- Acrylic wadding or fibre filling: wadding is the filling that gives the quilt warmth and loft; how much you need depends on the weight you want the finished piece to have.
- Binding for the finish: navy or colourful binding sewn around the entire edge keeps the borders neat and gives the denim quilt a professional finish.
Planning the size before you start cutting
Before reaching for the scissors, decide on both the quilt's finished dimensions and the size of each square. For a single-bed quilt measuring approximately 150 x 200 cm, 20 x 20 cm squares require a 7 x 10 grid, making 70 double-layered squares in total. For a double bed, measuring 200 x 220 cm, the number rises to around 110 squares. Every square requires two pieces of fabric, so always cut them in pairs.
Also consider the weight of the denim. Heavier fabric produces a warmer, firmer quilt, but it is harder to sew through in layers. For a lighter result suitable for autumn or moderately cold winter nights, choose thinner jeans or combine them with another cotton fabric between the squares.
Step by step: sewing a denim quilt from individual squares
This square-by-square method produces a fuller, more three-dimensional quilt. Each block is assembled and filled separately before all the blocks are joined, which spreads the filling more evenly and prevents it from gathering on one side after washing.
Complete step-by-step guide to the denim quilt
Follow this order to create a firm, even and washable result.
Cut every denim square to the same dimensions, using a ruler and tailor's chalk or a fabric marker. Sort them into pairs, with two pieces for each block. Place each pair right sides together, then stitch around three sides, leaving an opening of roughly 5 cm along the fourth side for the filling. Turn the block right side out, insert acrylic wadding cut to the size of the square, and close the opening with an invisible stitch or a straight seam sewn very close to the edge.
Once every block is ready, arrange them on the floor in your chosen pattern before sewing. One useful approach is to alternate darker and lighter blocks to create visual contrast. Sew the horizontal rows together first, then join the rows to one another. Finish by stitching the binding around the entire edge of the quilt, covering the raw edges and completing the piece. For extra reinforcement, sew an additional line of stitching at the point where each square meets, on the right side of the quilt.
A quicker alternative for those confident with a sewing machine is to join all the squares first to create the quilt's two outer layers, then add the filling and close the border. This approach calls for greater care when spreading the filling evenly before sealing it, but it saves time compared with preparing each block individually.
Other creative projects using leftover denim
After cutting out the quilt squares, there will still be plenty of useful fabric from the trouser legs. These leftovers do not need to go in the bin. The tubular legs of jeans are ideal for fabric organisers: simply cut them into equal lengths, close one end, and use them as pen pots, small-item holders or drawer dividers. Shorter sections can be made into wash bags and pencil cases by sewing a simple zip into the opening.
Hair accessories such as headbands, bows and scrunchies can also be easily made from strips of denim cut on the bias. Decorative cushions, handbags, backpacks and cushion covers are further projects that make use of the larger sections of the trousers. Denim is one of the few fabrics that looks good in almost any application, because its wear and tonal variation are part of its appeal.
The care that helps the quilt last much longer
Because it is made from denim, this quilt can be machine-washed without difficulty. However, a few straightforward measures will greatly extend its useful life. Always wash it in cold or lukewarm water, never hot, to protect the filling and prevent the blocks from shrinking unevenly. When drying, hang it in the shade rather than using a tumble dryer, as intense heat can gradually distort acrylic wadding. Shake the quilt thoroughly before folding it away to redistribute any filling that may have compacted during washing.
This is the kind of piece that becomes more attractive through use and over time, just like the jeans from which it was made. Share it with someone who sews, or with anyone whose drawer is full of old jeans waiting for a fresh start.

















Comments
No comments yet. Be the first to comment!
Leave a Comment