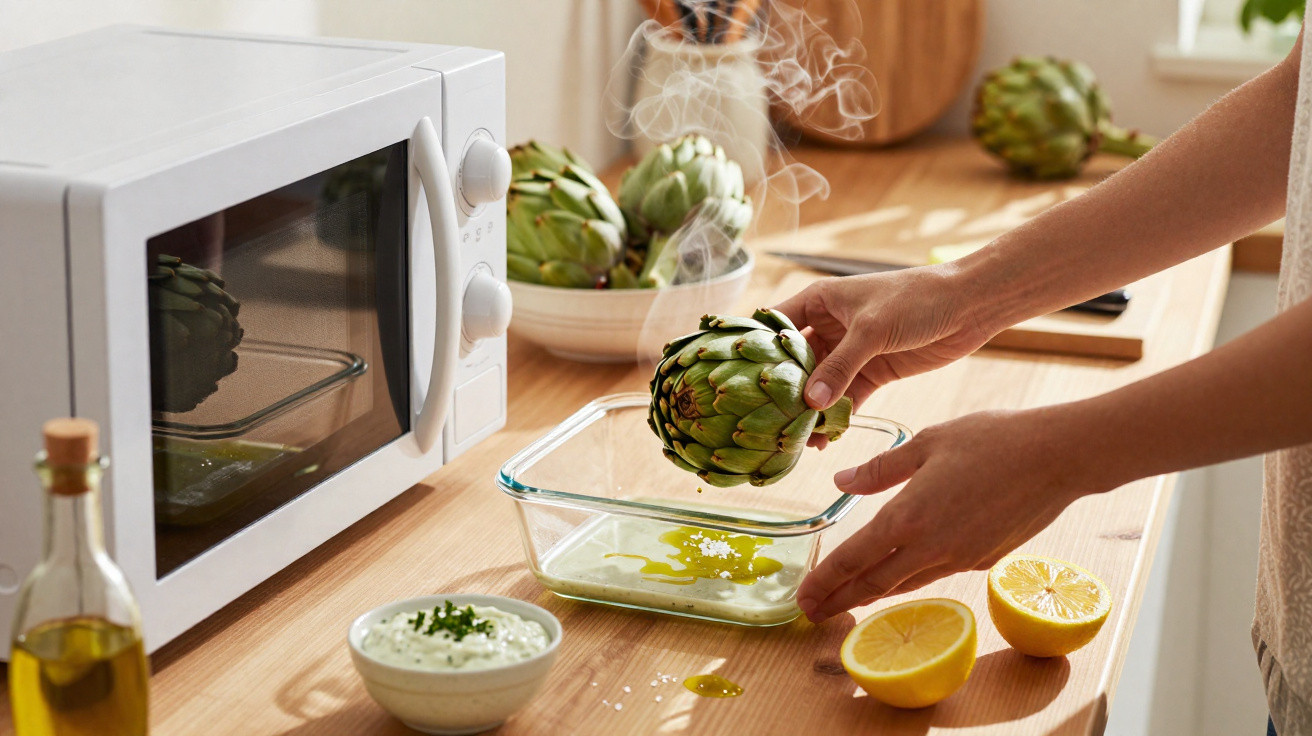
No saucepan, hardly any washing-up, yet a buttery-tender artichoke: one straightforward method makes this once laborious vegetable suitable for everyday cooking.
Artichokes can seem like a nuisance on a normal day: they take a long time to cook, create plenty of steam and leave lots of dishes behind. A simple microwave trick cooks the bud in minutes, producing an almost identical result to steaming. The key is not just the technique itself, but also choosing the right artichoke and carrying out a few quick steps beforehand.
Why the microwave makes artichokes practical for everyday meals
For many people, artichokes mean spending half the evening at the hob: finding a pan, bringing water to the boil, waiting 30 minutes or more, and checking them repeatedly. Anyone arriving home hungry from work will often skip that effort and choose an easier side dish.
This is exactly where the microwave comes into its own. It heats the water inside the container very rapidly, effectively recreating a small steam-cooking chamber. The vegetable cooks in its own juices, aided by just a few spoonfuls of water.
The microwave method saves time, energy and washing-up – while still producing a tender, flavoursome artichoke.
Depending on its size, cooking time is reduced to around ten minutes. As very little water is involved, the flavour is not diluted. Many people even find that the aromatic notes are more pronounced than after conventional boiling or steaming.
There is also the matter of electricity use: a microwave running at high power for ten minutes consumes considerably less energy than a hob simmering a large pan of water for a long time. Anyone who cooks vegetables regularly will notice the difference on their bill over time, too.
Freshness is everything: how to choose the right artichoke
For this quick approach to work, you need a good-quality starting ingredient. An old, dry artichoke will not become truly tender after twelve minutes in the microwave either. Fresh produce, by contrast, responds quickly and evenly to the heat.
How to spot a fresh artichoke
- Firmness: The bud should feel plump and compact, not soft or spongy.
- Leaves: They should be tightly closed, difficult to bend apart and not limp.
- Stem: The cut end should look slightly moist rather than completely dried out or brown.
- Colour: Minor discolouration is normal, but extensive brown patches tend to indicate an older artichoke.
If an artichoke is very open and its leaves are spreading widely apart, it has lost a great deal of water. It will then cook unevenly in the microwave: too soft on the outside but still tough within.
Choosing genuinely fresh produce means you will scarcely need to extend the cooking time, and you will achieve an even texture from the outer leaves right through to the heart.
Quick preparation before microwaving the artichoke
Before placing the artichoke in its container, it needs a little preparation. This takes only a few minutes, but makes a noticeable difference.
- Trim the stem: Cut the stem off completely or shorten it to a few centimetres so the bud stands securely.
- Remove the outer leaves: Pull away any very tough, damaged or heavily discoloured leaves on the outside.
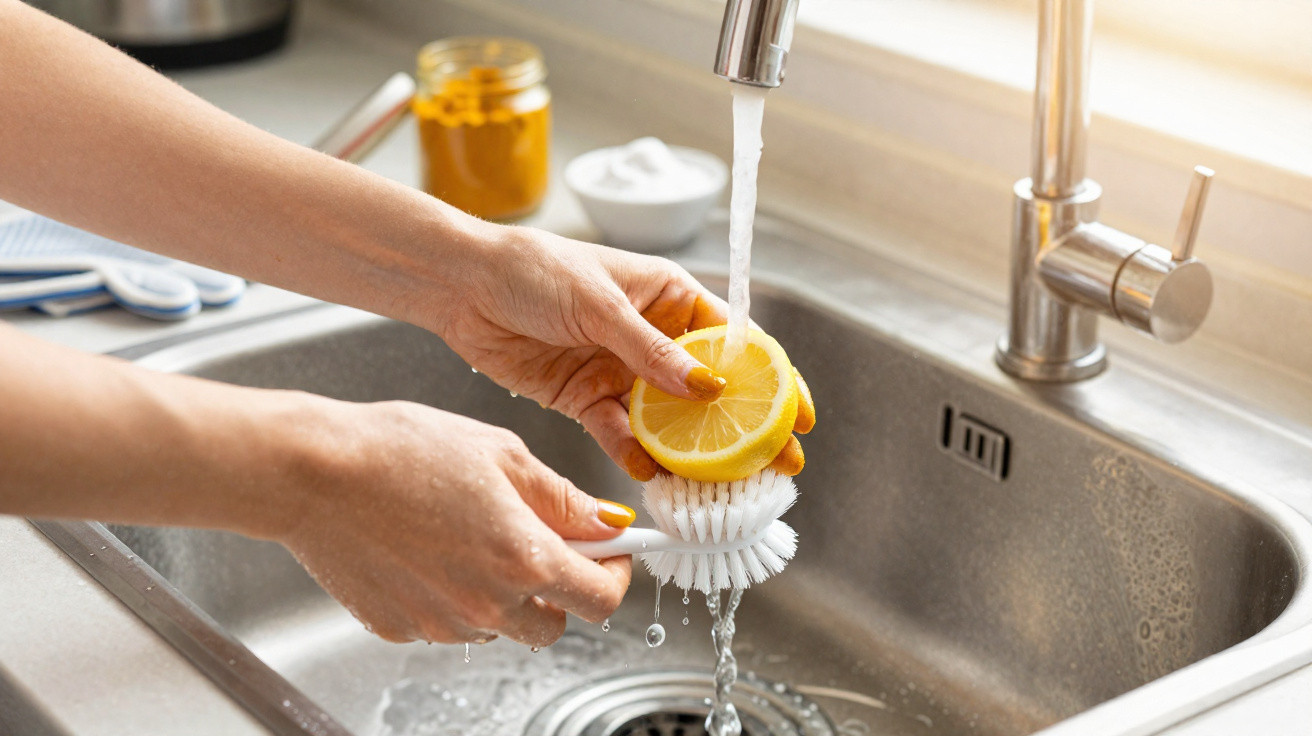
- Wash it: Rinse the artichoke under running water to dislodge sand and dust caught between the leaves.
- Neaten the top: If you wish, cut off the upper centimetre, which is often dry. This allows the steam heat to reach the centre more effectively.
- Prevent discolouration: Rub the cut surfaces with a little lemon to stop them turning grey.
Lemon juice reacts with the cut surfaces and slows down oxidation in the vegetable. Anyone wanting an attractive result on the plate should not leave out this step.
Step by step: cooking an artichoke in the microwave
Once the bud has been prepared, it is time for the actual method. It is easy to remember and can be adjusted to suit your own microwave.
Choose the right container
Ideally, use a heatproof bowl or lidded glass dish that is suitable for microwave use. The artichoke needs to be able to stand upright inside it. Leave a little space between the bud and the lid so that the steam can circulate properly.
How the cooking time works
- Add water: Pour 2–3 tablespoons of water into the container.
- Position the artichoke: Stand the bud in the centre, then put on the lid or use a microwave cover.
- Power: Set the microwave to 800–900 watts.
- Cooking time:
- 8–10 minutes for a medium-sized artichoke
- 10–12 minutes for a large artichoke
Very little water, a tightly covered container and high power: this creates a small steaming space in the microwave that softens the artichoke quickly.
The microwave works efficiently here because it heats both the small amount of water and the vegetable’s own moisture. The resulting cloud of steam remains beneath the lid and penetrates right into the middle of the bud.
How to tell when the artichoke is truly cooked
The timings provide a useful starting point, but every microwave heats slightly differently. Towards the end of the cooking time, it is therefore worth checking how far the vegetable has cooked.
| Test | What you see or feel | Assessment |
|---|---|---|
| Leaf test | Gently pull an outer leaf outwards | If it comes away without much resistance, the artichoke is largely cooked. |
| Knife test | Insert the tip of a knife into the base | If the blade slides in almost by itself, the texture is right. |
| Weight | Carefully lift the artichoke | If it feels noticeably lighter and slightly softer, much of the water inside has turned into steam. |
If the inside of the bud is still a little firm, one or two additional minutes will usually be enough. These small adjustments prevent it becoming overly soft and crumbly.
Common mistakes that spoil the quick method
The technique is simple, but a few recurring pitfalls can cause problems. Knowing them saves frustration and wasted vegetables.
- Too little water: Without those few spoonfuls in the container, hardly any steam develops; the artichoke dries out and becomes fibrous.
- No lid: In an uncovered container, moisture escapes immediately, so the bud cooks unevenly.
- A container that is too small: If the leaves press against the sides and there is no room for steam, only part of the artichoke will become properly tender.
- Excessive cooking time: Letting it run for 15 minutes “just to be safe” risks a floury texture that falls apart.
It helps to remember the ideal timing for your own microwave after trying the method once. From then on, the dish is almost effortless.
How to enjoy microwave artichoke at its best
Once cooked, the bud can be eaten in exactly the same way as a traditionally steamed artichoke: pull off one leaf at a time, scrape the soft flesh from it with your teeth, then finally reveal the heart.
Popular accompaniments and sauces
The following combinations are tried and tested, and can be mixed together in just a few minutes:
- Simple vinaigrette: Vinegar, oil, mustard, salt and pepper.
- Light mayonnaise: Classic mayonnaise thinned with a little lemon juice and water.
- Yoghurt and lemon: Natural yoghurt, lemon juice, salt, pepper and, if desired, a little garlic.
The heart deserves particular attention. It sits beneath the fine, fuzzy fibres in the centre and is considered the most flavoursome part. The microwave method is especially good at preserving this delicate texture because the vegetable is not leached in a large quantity of water.
How healthy artichokes really are – and what to serve them with
Artichokes contain compounds known as bitter substances, including cynarin. These stimulate digestion, making them a good match for richer dishes such as lamb, steak or pasta with plenty of cheese. Many people also enjoy them as a light evening snack when they do not want another substantial main meal.
Because the cooking process is so quick, heat-sensitive nutrients are more likely to be retained than during lengthy boiling in water. The bud therefore reaches the plate sooner while bringing plenty of its nutrients with it.
The method is especially practical in everyday life because it removes the need for planning: one artichoke can be prepared on a whim without getting out a large saucepan. Those who enjoy Mediterranean cooking can add the cooled hearts to salads, pasta dishes or antipasti platters, avoiding expensive jarred versions.





Comments
No comments yet. Be the first to comment!
Leave a Comment