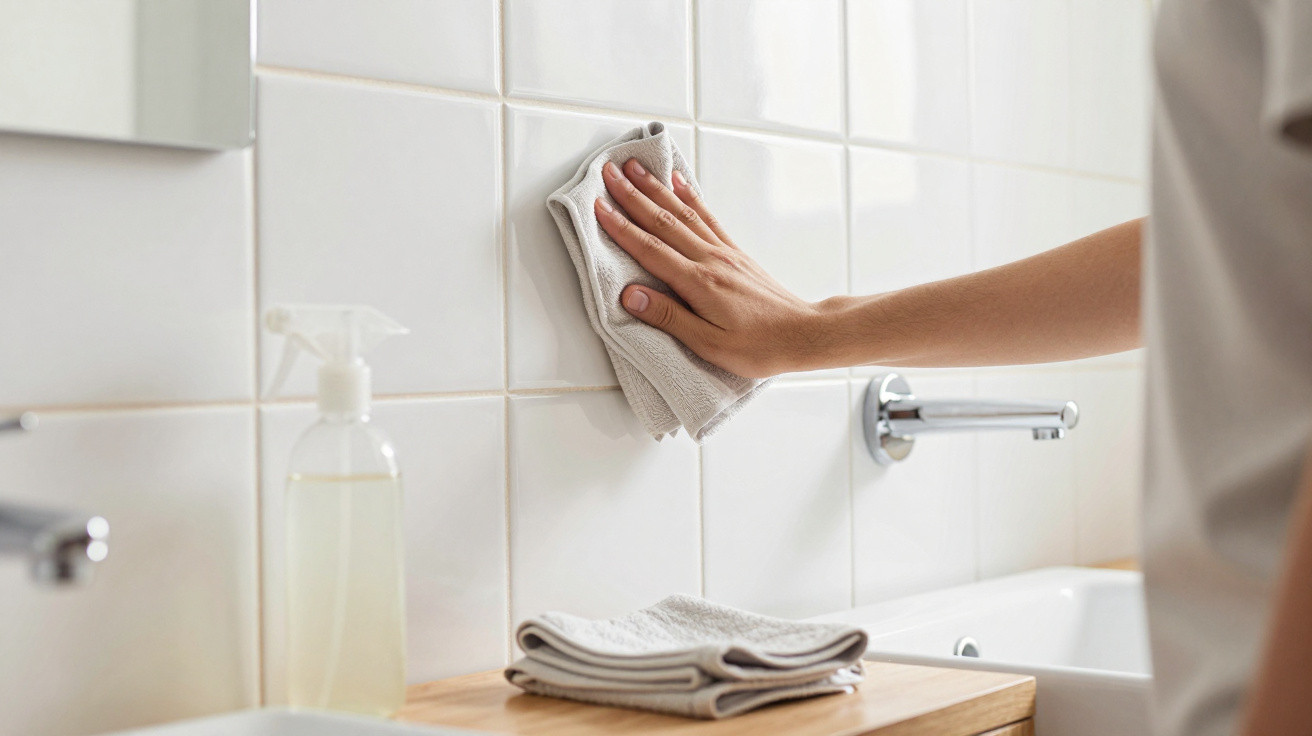
The shower has barely had time to steam up the mirror before the supposedly clean bathroom tiles give themselves away. In the light, pale chalky lines appear across the wall, as though a white crayon has been drawn along every joint. You know that uncomfortable blend of embarrassment and annoyance when visitors are due and the bathroom appears clean… yet clearly is not? So you wipe again, with more force, as we all tend to do when nothing else seems to work. The cloth squeaks, your arm starts to ache, but the tiles still wear that dull white haze.
Then somebody introduces you to another way of cleaning them.
A method that does not leave that ghostly layer behind.
Suddenly, the bathroom lighting is no longer the enemy.
The invisible enemy on your tiles
Stand facing the bathroom wall and tip your head a little. Tiles that looked immaculate from a distance suddenly reveal everything they have been hiding: limescale marks, old soap deposits and tiny toothpaste splashes. The strange thing is that the more we scrub with conventional products, the more that chalky white residue seems to return. It is no longer simply dirt; it is evidence of our own cleaning efforts.
The issue is sitting in plain view: hard water and detergent combine, then dry onto the surface rather than disappearing completely.
Consider Léa, who had recently renovated her small city flat. Her new pale-beige tiles were meant to create the look of a hotel spa. For a month, she wiped down the walls after every shower with a multi-purpose spray promising “for a streak-free shine”. The claim on the bottle sounded appealing, but the result was not. Beneath the LED spotlights, a whitish film reappeared every day, particularly on the lower wall where the water landed most heavily.
She switched sprays, tried hotter water and purchased fresh microfibre cloths. The outcome remained identical: a white frost over everything.
The science behind it is straightforward. Hard water contains high levels of minerals including calcium and magnesium. Standard cleaning products add surfactants and frequently leave residues of their own. As the water evaporates, the minerals and soap ingredients remain behind, settle into the microscopic texture of tiles and grout, and create that dry white crust.
Using extra product while scrubbing only removes some of the existing coating before leaving another layer behind.
What you need is not more elbow grease, but a solution that works against those minerals instead of adding to them.
The vinegar method that leaves zero white residue
This is the approach many professional cleaners use discreetly while the rest of us battle chalky tiles. First, rinse the walls with hot water to release recent build-up. Next, combine one part white vinegar with two parts warm water in a spray bottle, adding only a tiny drop of mild washing-up liquid. Spray the mixture generously over the tiles and grout, concentrating on the areas with visible white marks.
Allow it to work for 5–10 minutes without touching it. That pause is where the difference is made.
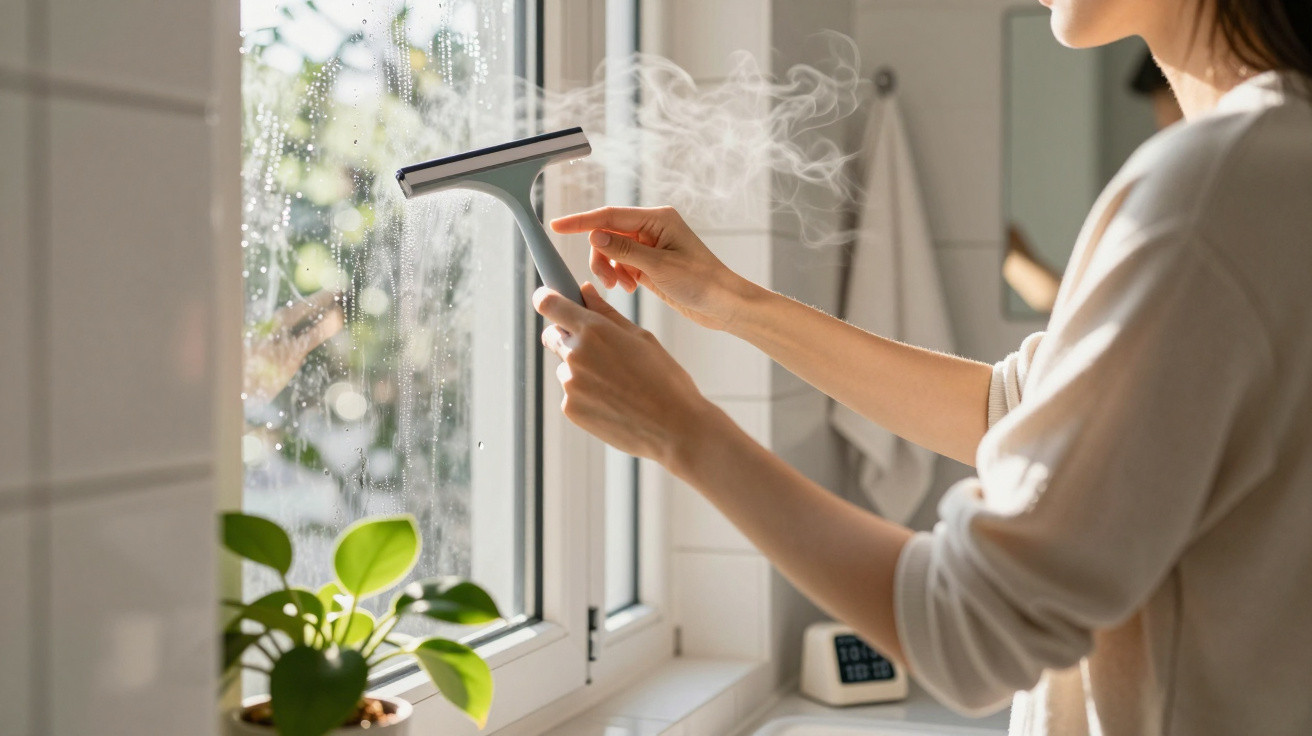
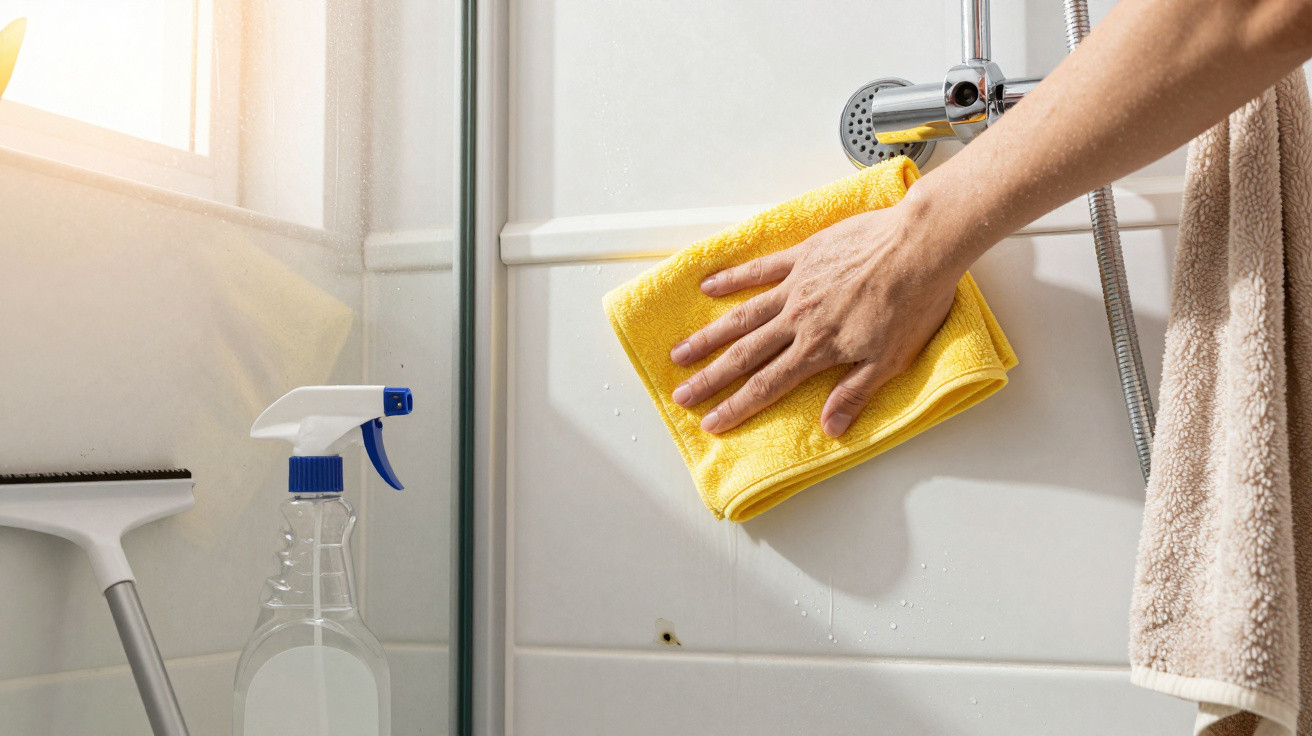
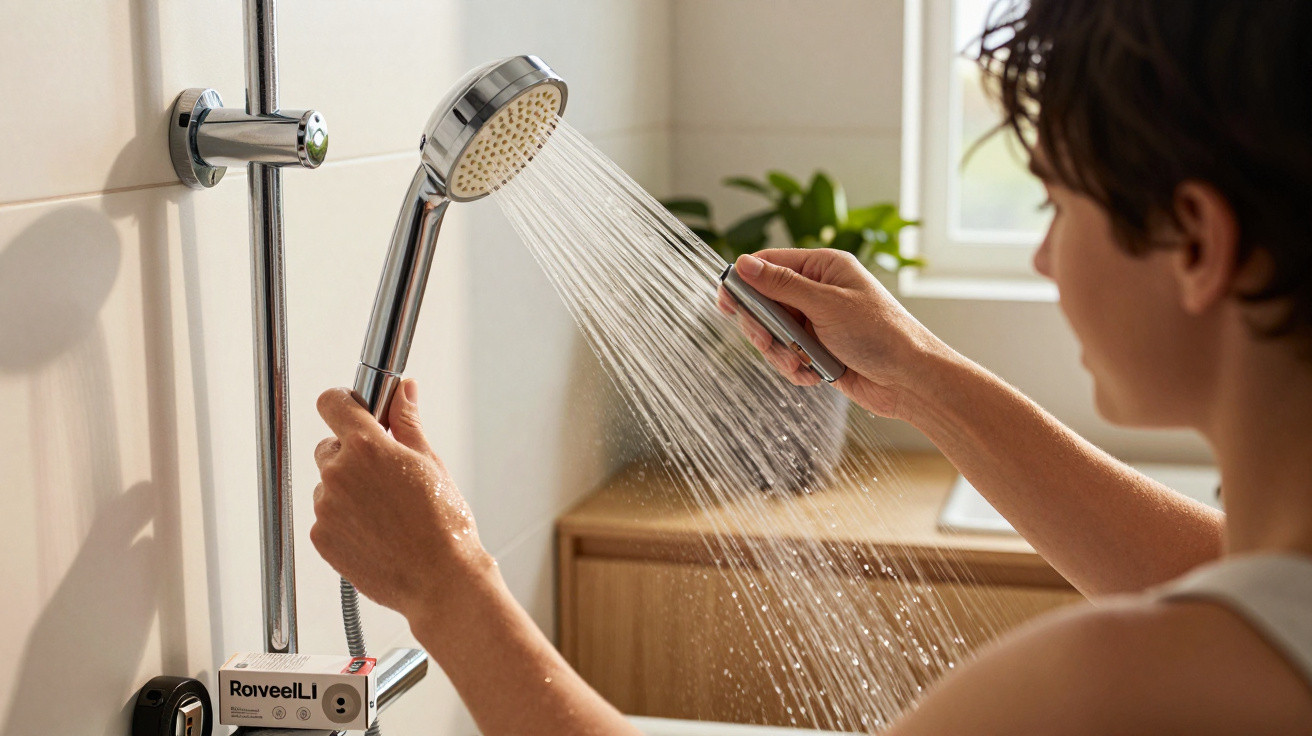
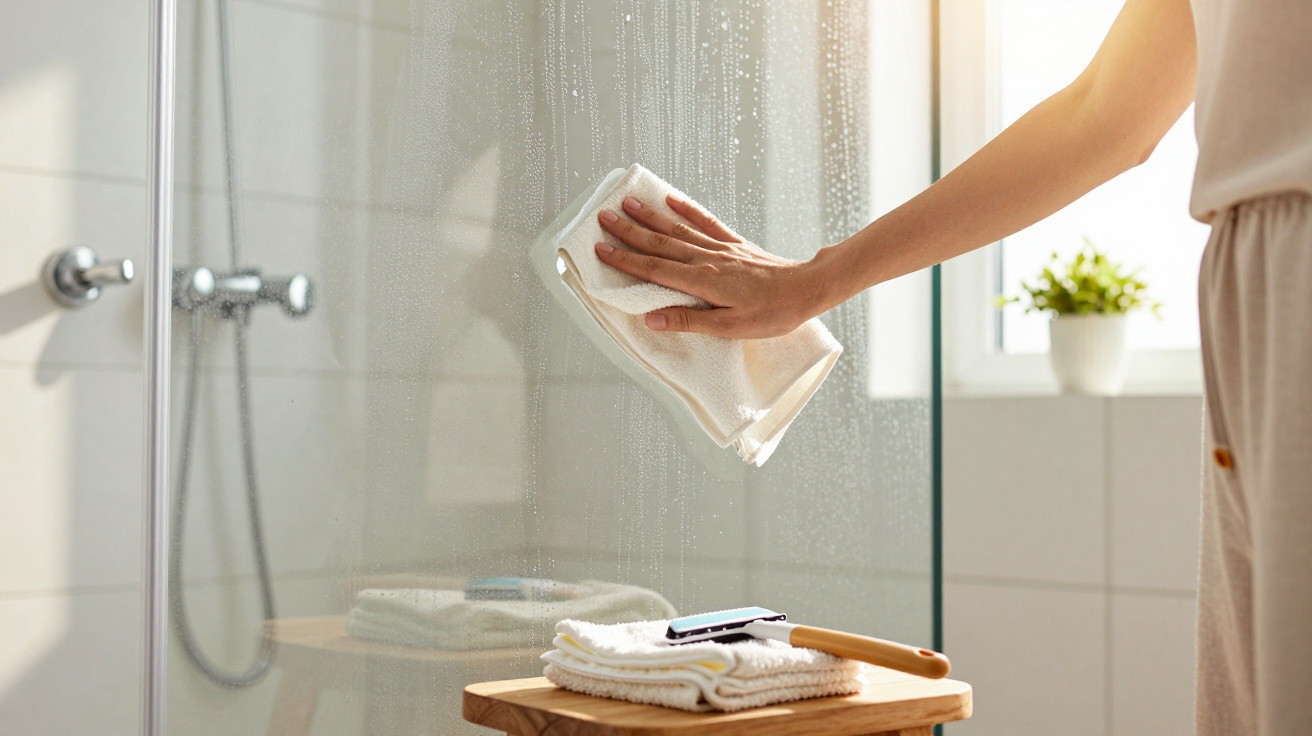
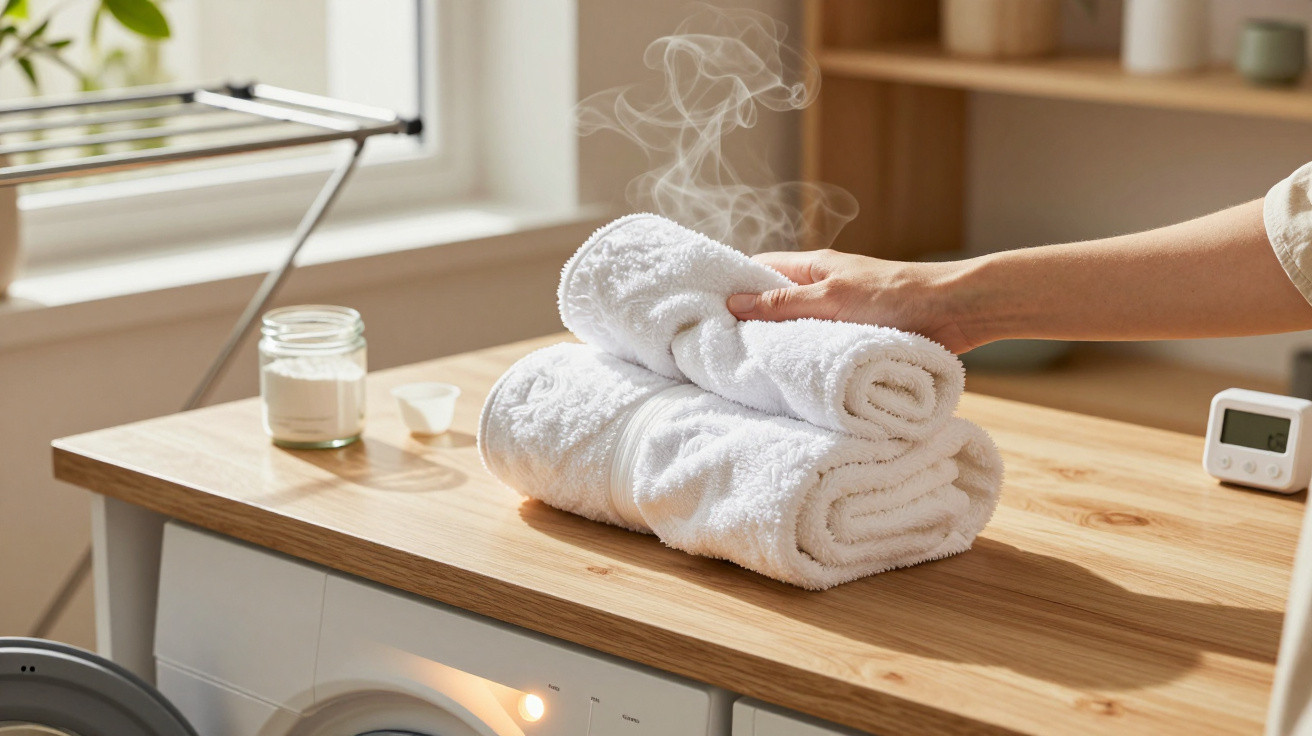
Next comes the step that changes the result: rather than scrubbing furiously, wipe the surface using a soft microfibre cloth that has been rinsed extremely well and folded into four. Clean in small sections and rinse the cloth regularly in a bucket of clean, hot water. After removing the solution, give the tiles a quick rinse with the shower head, then dry them using a fresh, dry microfibre cloth or a squeegee.
To be realistic, hardly anyone follows this routine every day.
Even when done only once a week, though, it greatly cuts down the white film that can make a bathroom seem worn out.
“People think they have dirty tiles, but most of the time they just have overloaded tiles,” laughs Anna, who’s been cleaning hotel bathrooms for 18 years. “Too much product, not enough rinsing, and no drying. You don’t want a chemical coat, you want bare ceramic.”
- Use diluted vinegar, not pure: undiluted acid may dull certain finishes and gradually damage inexpensive grout.
- Rinse your cloths thoroughly: a soiled or soapy microfibre cloth will merely put residue back onto the tiles.
- Always end with a brief drying stage: even a basic towel prevents 80% of future white marks.
Living with tiles that genuinely stay clean
After seeing tiles dry without that chalky halo, it is difficult to return to the old routine. The light suddenly shows what may have been hidden for months: their natural sheen, richer colour and grout that looks like itself again. This technique will not turn your bathroom into a magazine photo shoot every day, but it can make the space feel truly healthier, less tacky and less artificially clean.
That small change can alter how you experience this everyday room.
| Key point | Detail | Value for the reader |
|---|---|---|
| Target mineral residues | The vinegar solution breaks down limescale and soap film rather than merely masking them | Tiles appear clearer and remain clean for longer |
| Less product, more rinsing | A small amount of mild soap, regular cloth rinsing and a quick water rinse for the tiles | Cuts down white streaks and tacky surfaces |
| Drying step | Use a squeegee or microfibre cloth after cleaning or showering | Restricts fresh deposits and slows limescale build-up |

Comments
No comments yet. Be the first to comment!
Leave a Comment