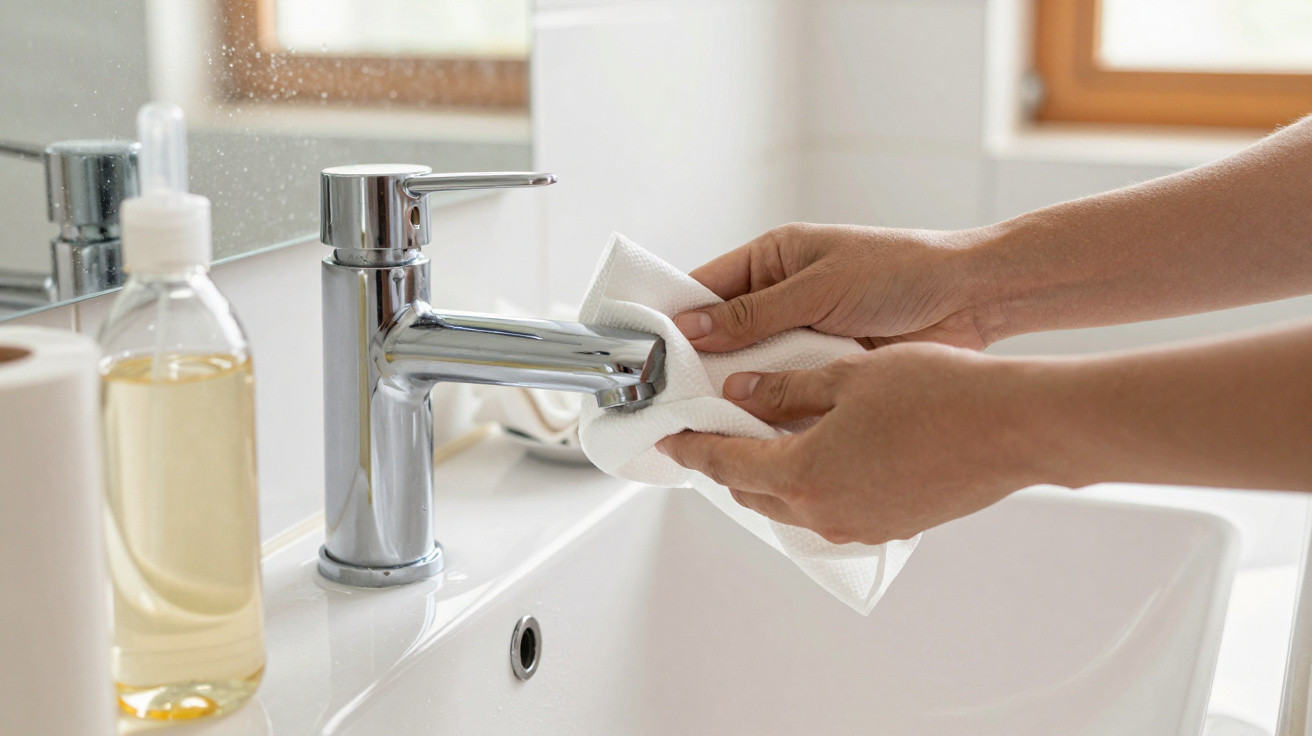
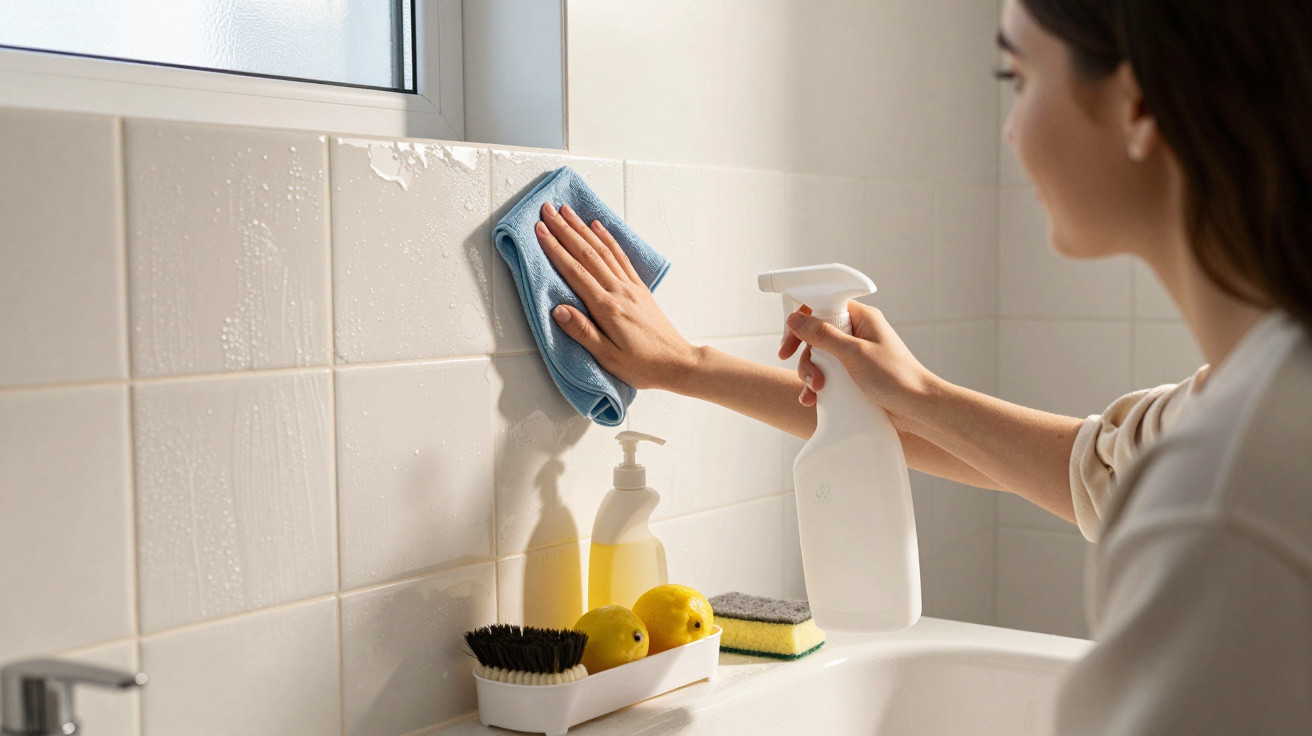
It is Saturday morning, sunlight is slanting through the bathroom window, and you think: “Today, I’m doing it properly.” The bathroom cleaner is ready, the sponge is foaming and Spotify is playing in the background. You wipe down the basin, the taps shine, and the shower enclosure is starting to look as though it belongs in a hotel advert again. A quick look at your phone, one more corner here and a grout line there. You lean back, take a breath and feel satisfied: everything is clean. But is it really?
A few hours later, you pass the toilet in the dark and press the flush. In the dim light, you notice a shadowy edge, a faint grey line, an odd sheen. Something is not right. There is one spot that nearly always gets missed.
The forgotten area: beneath the toilet rim
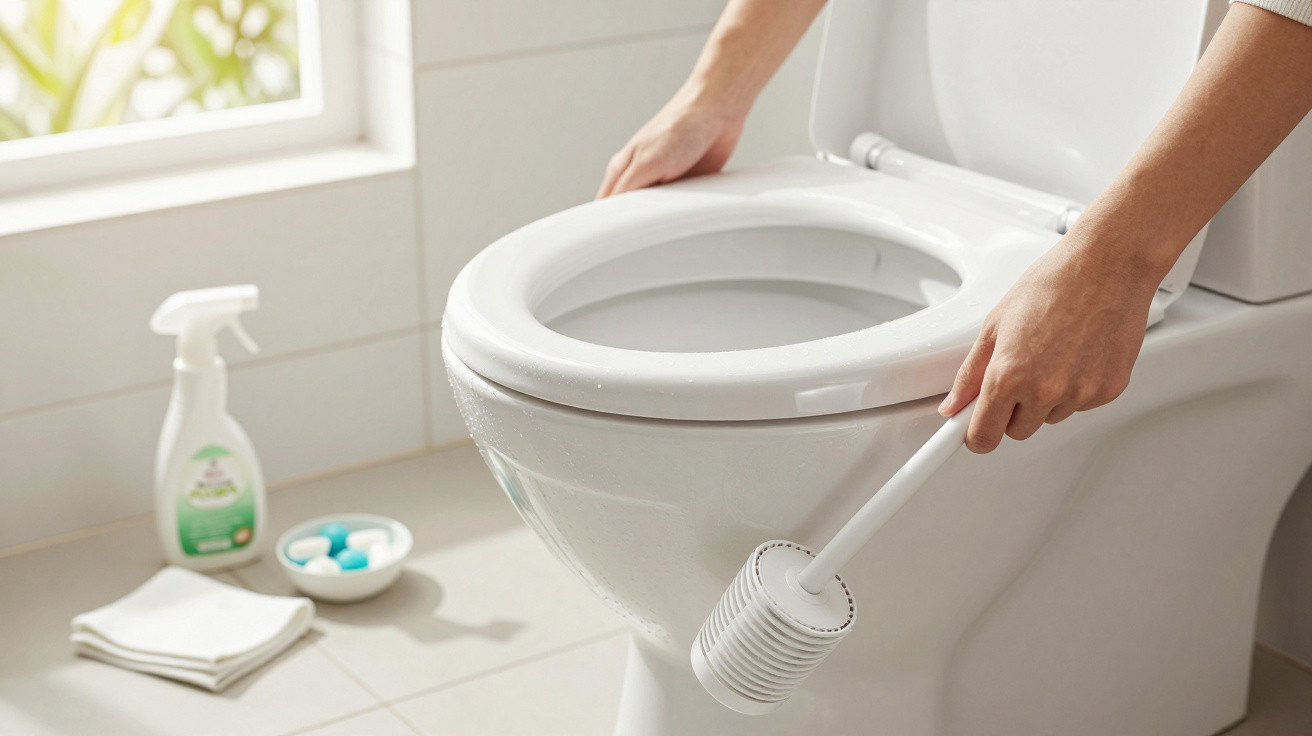
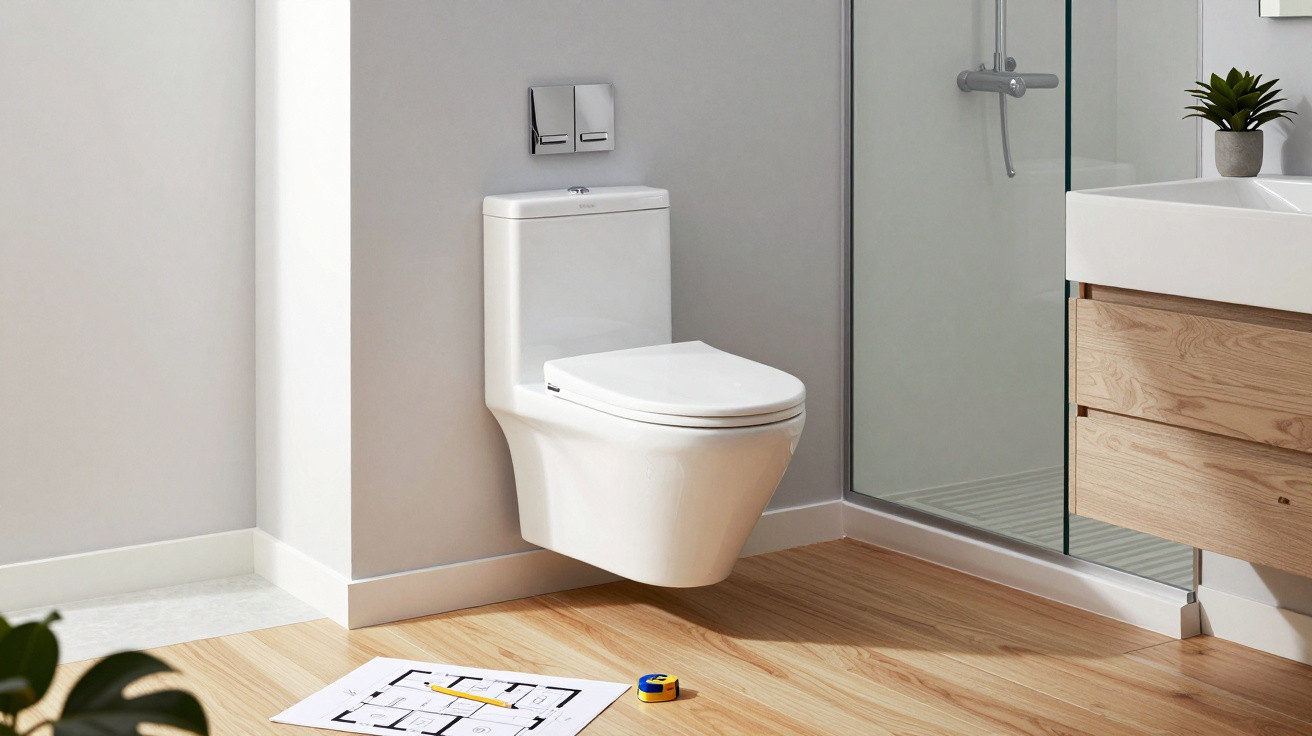
Let us talk about the place where the illusion of hygiene meets reality: the inside rim of the toilet, especially its underside and the small flushing holes. From above, the toilet looks white, well behaved and tidy. A quick sweep with the brush, a little cleaner, job done. Yet beneath the rim, where the water shoots out during flushing, limescale, urine scale and bacteria settle in like flatmates in a quiet shared house. No one notices them at first glance, which is presumably why they are so comfortable there. Who willingly puts their face at toilet-bowl level with a torch in hand?
You may know the situation: visitors are on their way, so you give the bathroom a speedy clean because it needs to shine like a freshly filtered Instagram photo. You wipe the toilet lid once more, spray scented cleaner into the bowl, leave it to work briefly and flush - finished. Later, you see a social-media video in which someone runs an old toothbrush beneath the toilet rim, releasing brown, slimy residue. It suddenly dawns on you that yours could look the same. Hygiene studies indicate that this particular area can harbour one of the highest concentrations of bacteria anywhere in the home, often exceeding the notorious kitchen worktop.
The reason is brutally straightforward. Under the rim, conditions are damp, warm and poorly ventilated: a miniature spa for microorganisms. Limescale deposits create a rough surface to which urine scale and dirt can practically cling. Every flush sends water rushing over it, carrying some away while finely spraying the rest around. Seen from above, everything appears clean, and the gleaming porcelain reassures the eye. Let us be honest: no one crawls onto the floor after every clean, holding their breath to inspect the underside of the ceramic rim. This area builds its invisible empire on precisely that convenience.
How to win the invisible battle beneath the toilet rim
Getting rid of the dirt hidden under the toilet rim rarely works with the standard “brush in circles” approach alone. The first step is almost obvious: light. Take a small torch or use your phone torch and shine it directly beneath the rim, checking from several angles. You may be surprised by what appears. Then comes the targeted attack: carefully apply an anti-limescale toilet gel directly beneath the rim, all the way around in one circle. Leave it to work for at least 30 minutes, preferably longer. You can get on with something else while the chemistry does the work for you.
Once the cleaner has had time to work, it is time for a tool. Some people use an old toothbrush, while others choose specialist hooked toilet-rim brushes. The important thing is to reach properly beneath the edge and gently scrub the small holes where the flush water emerges. Work your way all around without rushing, but do it thoroughly. Leave it briefly, then flush. When you check again with the torch, the difference is almost tangible: the grey film has gone, and the rim looks brighter and smoother. Suddenly, the whole room feels fresher, even though you have only cleaned a few extra centimetres of ceramic.
Many people do not fail because of the technique, but because of their own reluctance. It is that “Oh, come on, it’ll be fine” moment. You can barely see the rim, perhaps notice an occasional unexplained smell, and blame it on “old pipes”. Or you think: “But I only cleaned yesterday - it cannot be that bad again already.” Another common mistake is allowing toilet cleaner to work only briefly before flushing straight away because you simply want to finish quickly. Another is brushing only from above without touching the underside of the rim at all. If we are honest, we all know these shortcuts.
“Most bathrooms look clean because the visible surfaces shine - true hygiene is decided in the places nobody willingly looks.”
- Consistency beats perfection - It is better to clean under the rim briefly every fortnight than face it once a year with shock and disgust.
- Gentle products often work better - Harsh chemicals are not necessarily required; toilet gel with an anti-limescale component and a little time are usually enough.
- Build a new routine - Link a rim check to an existing habit, such as your weekly bathroom clean on the same day each week.
- Use small tools - Keeping a dedicated narrow brush solely for the rim makes the job less irritating and considerably quicker.
- Take smells seriously as a warning sign - If it smells “a bit musty”, there is a strong chance that the rim area is involved.
What one small toilet rim does to our sense of cleanliness
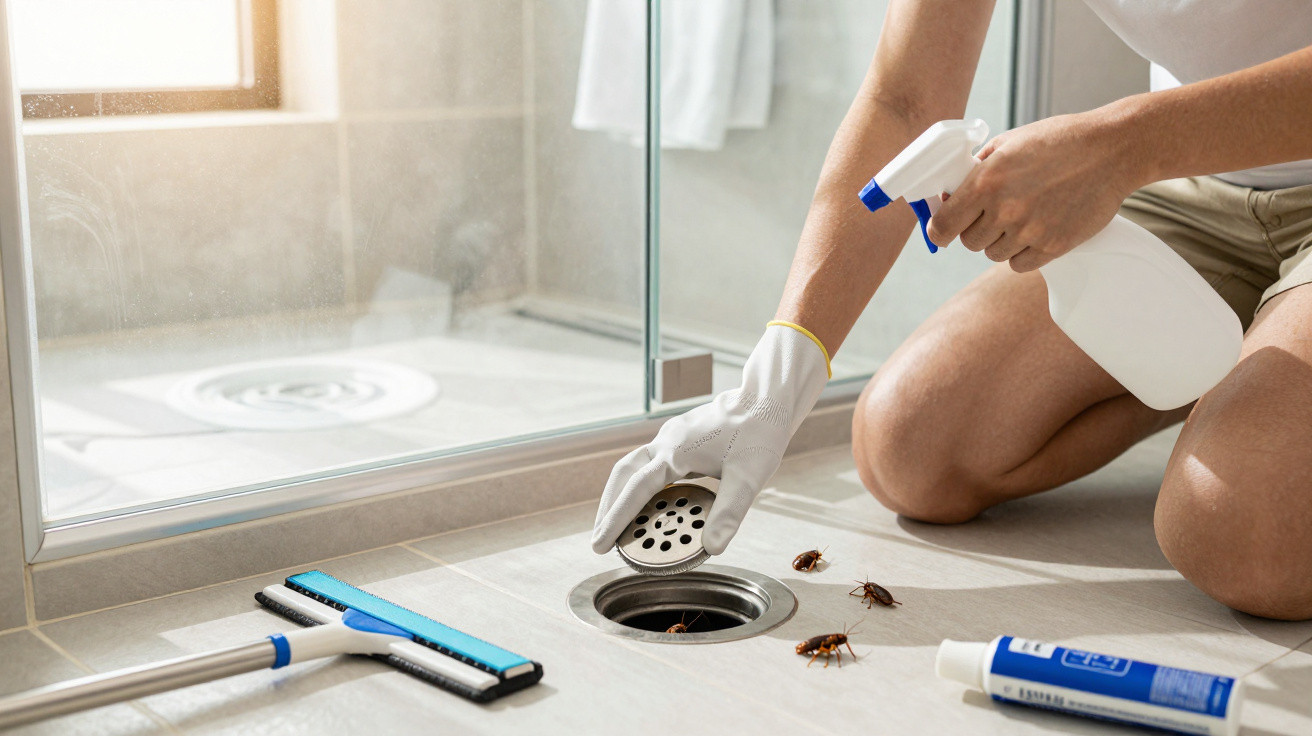
The longer you focus on this single overlooked spot, the more it changes how you view the entire bathroom. You begin to notice how much of our cleaning routine is actually symbolic: a quick wipe over the mirror, straightening the nice towels, lighting a scented candle. It feels orderly, almost like a small stage set. Yet behind the scenes, invisible details tell their own story. Anyone who has seen how much dirt can come loose from an apparently clean toilet rim will also look differently at the shower drain, the basin overflow hole and the rubber seals on the shower enclosure.
| Key point | Detail | Benefit for the reader |
|---|---|---|
| Hidden dirt zone | The underside of the toilet rim and its flushing holes are rarely checked or cleaned | The reader understands where smells and stubborn dirt genuinely come from |
| Targeted cleaning method | Apply toilet gel under the rim, allow sufficient contact time, then clean with a specialist brush | A practical step-by-step solution that can be used immediately in daily life |
| New cleaning routine | Include rim cleaning in regular bathroom cleaning instead of tackling it only occasionally | Less effort in the long term, fewer unpleasant moments and a noticeably cleaner bathroom |
FAQ:
- Question 1 How often should I clean the area beneath the toilet rim? For a typical household, every fortnight is usually sufficient. If you live in a hard-water area or several people use the household, doing it weekly may make sense.
- Question 2 Which cleaning product is most suitable? An anti-limescale toilet gel that clings to the surface and runs down slowly is ideal. For heavy urine scale, specialist urine-scale removers can help; always allow time for them to work.
- Question 3 Can I use household remedies such as vinegar or citric acid? Yes, diluted vinegar or citric acid can work well against limescale. However, they need longer to work, and contact with sensitive fittings should be avoided.
- Question 4 Do I need a specialist brush for the rim? Strictly speaking, no, but a narrow rim brush or an old toothbrush makes it much easier to reach the small openings.
- Question 5 How can I tell that the area is genuinely clean? Shine a torch beneath the rim: you should no longer see dark edges, deposits or slimy patches, and the rim should appear evenly light in colour.




Comments
No comments yet. Be the first to comment!
Leave a Comment