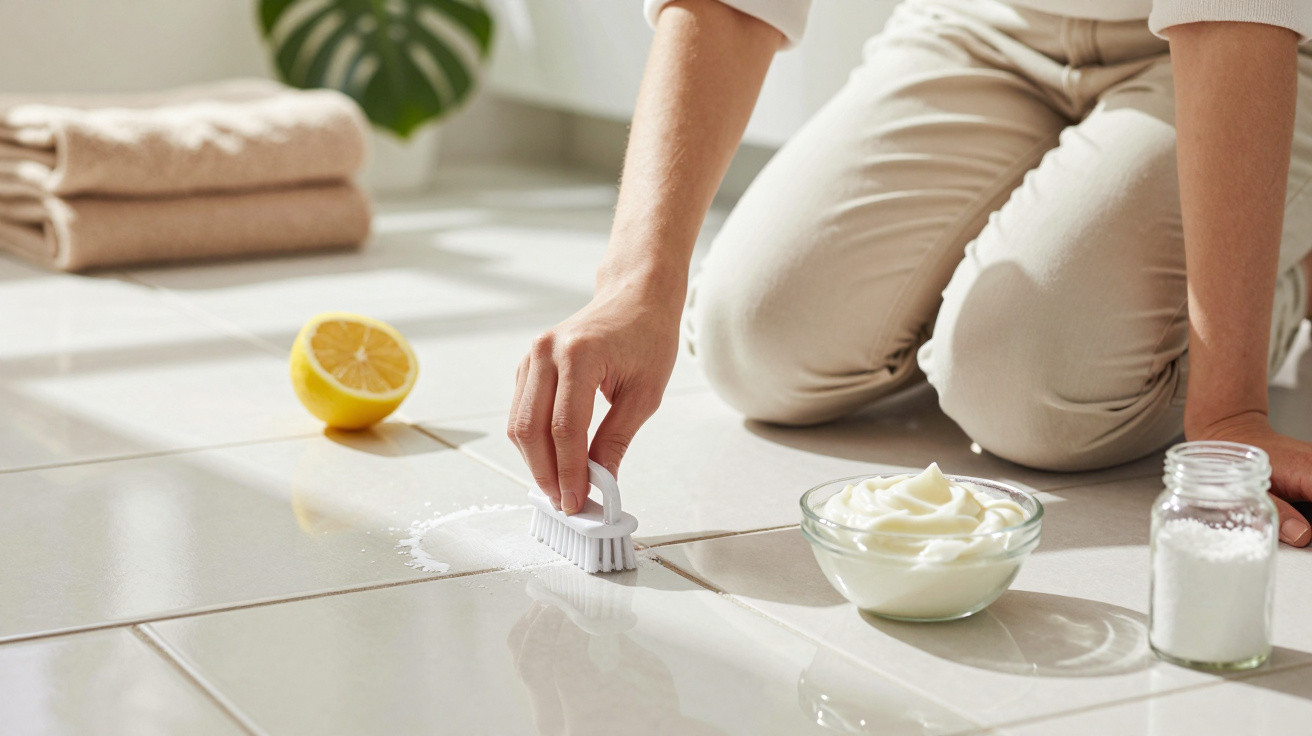
Last Tuesday morning, I was looking at my bathroom tiles with the all-too-familiar combination of annoyance and embarrassment. The grout lines, once spotless, had become grimy, dark seams that made the whole bathroom seem unclean, regardless of how thoroughly I scrubbed everything else. My immediate reaction was to grab the heavy-duty bleach beneath the sink, but I stopped myself. Perhaps it was the prospect of harsh fumes in my cramped, badly ventilated bathroom, or the concern about what those chemicals could be doing to my family’s health. Then I recalled my grandmother’s traditional cleaning remedies – the ones that always seemed more effective than shop-bought products. Sometimes the best answers are right in front of us.
Why Grout Gets So Grimy – and Why Bleach Is Not the Solution
Bathroom grout attracts virtually everything you would rather not have in your home. Because most grout is porous, it absorbs soap residue, dead skin cells and moisture like a sponge. Combine that with inadequate ventilation and you have ideal conditions for mould and mildew to thrive.
I discovered this for myself after moving into my current flat three years ago. The former tenant had plainly abandoned any attempt at grout care, leaving lines so stained that they would not have looked out of place in a petrol station toilet. My property manager advised hiring professionals, but their estimate was $300 for a job that appeared fairly straightforward. That was the point when I chose to become my own grout-cleaning expert.
What many people do not understand about bleach is that, although it can make grout appear whiter for a while, it gradually damages it. Its aggressive chemicals degrade the binding agents, leaving grout more porous and more likely to stain again. And, frankly, few people want to inhale toxic fumes simply to clean the bathroom.
Baking Soda and Hydrogen Peroxide: The Paste That Really Works
The surprisingly simple secret weapon may already be in your kitchen: baking soda and hydrogen peroxide. Combine three parts baking soda with one part hydrogen peroxide to create a thick paste that can be spread easily. It should have a toothpaste-like texture: substantial enough to cling to vertical surfaces, but not so dry that it falls apart.
Patience is where most people go wrong with this method, but it is essential. Using an old toothbrush, spread the paste liberally along the grout lines, then leave it alone for at least 10 minutes. I normally put on a load of washing or make a coffee while it gets to work. Hydrogen peroxide works as a natural bleaching agent, whereas baking soda delivers mild abrasive cleaning power.
The way you scrub is more important than it may seem. Tackle small areas at a time and move the toothbrush in circular motions.
“I was skeptical at first, but this paste removed stains that I thought were permanent. My bathroom looks like it belongs in a hotel now, and I didn’t have to wear a gas mask to clean it.” – Sarah M., homeowner
- Do not use metal brushes on grout, as they can scratch and harm the surface.
- Clean from the top down so that dirty water does not re-stain areas you have already cleaned.
- Once finished, rinse everything thoroughly using warm water.
- Open windows or run a fan to improve air circulation.
Keeping Bathroom Grout Clean for the Long Term
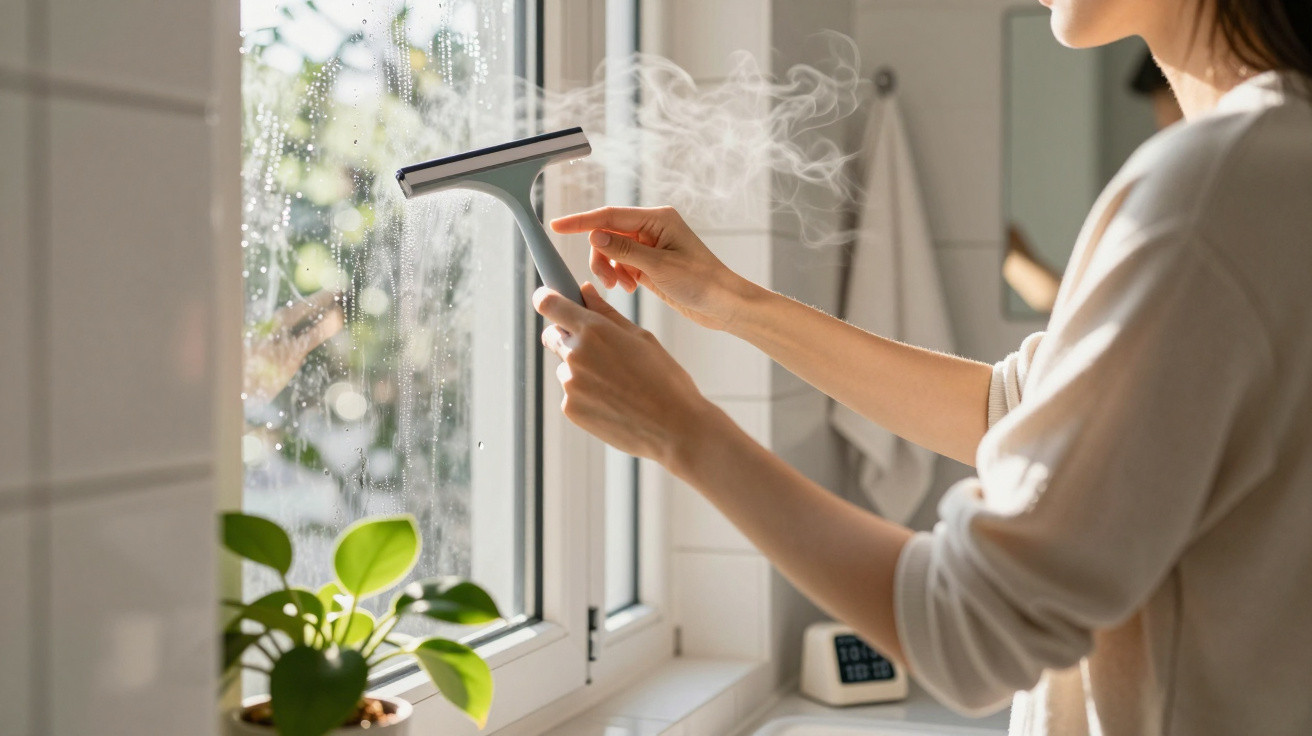
The real achievement is not simply cleaning grout once; it is maintaining it without having to turn the bathroom into a chemistry laboratory every few weeks. Once I had used the paste method, I began running a squeegee over the shower walls after every use. This easy routine stops soap and water from settling into the grout lines to begin with. Your future self will thank you for those extra 30 seconds of daily upkeep.
| Key point | Detail | Value for the reader |
|---|---|---|
| Cost-effective solution | Baking soda and hydrogen peroxide cost under $5 total | Saves hundreds compared to professional cleaning |
| Non-toxic approach | No harsh fumes or chemical residue | Safe for families, pets, and people with sensitivities |
| Long-term grout health | Gentle cleaning preserves grout integrity | Prevents costly grout replacement down the road |






Comments
No comments yet. Be the first to comment!
Leave a Comment